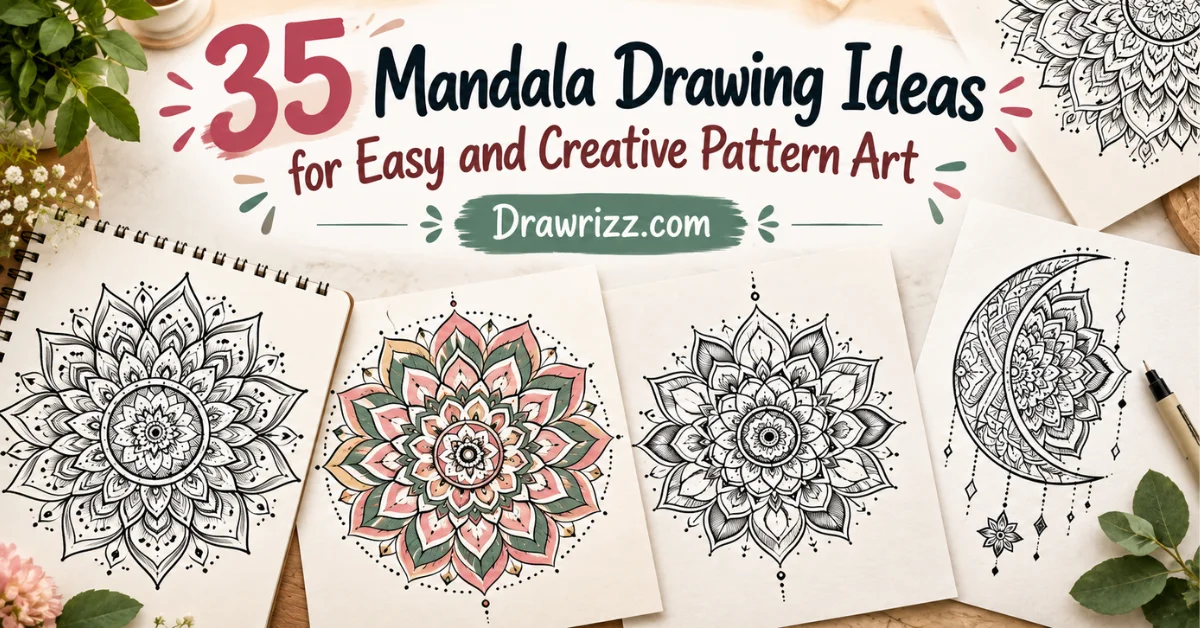
Mandala Drawing Ideas can turn a blank sketchbook page into a relaxing space for experimenting with circles, petals, lines, dots, and repeating shapes. You do not need advanced drawing skills to begin. A pencil, eraser, ruler, compass, and fineliner are enough for most designs, while simple guidelines can help keep each layer balanced.
Some patterns can stay clean and minimal, while others can become highly detailed as you add more rings and decorative elements. Instead of worrying about perfect symmetry from the first line, begin with an easy center shape and gradually build outward. The ideas below range from beginner-friendly arrangements to more decorative compositions you can adapt to your own style.
Easy Mandala Drawing Ideas to Try in Your Sketchbook
A sketchbook is a great place to explore different mandala styles and experiment with patterns at your own pace. From simple circles and delicate petals to geometric shapes, leafy details, stars, and intricate decorative designs, there are plenty of creative possibilities to try. Some ideas are quick and minimal, while others offer more detail when you feel like creating something intricate.
Explore the ideas below and choose your favorites to try in your own sketchbook.
1. Simple Circle Pattern
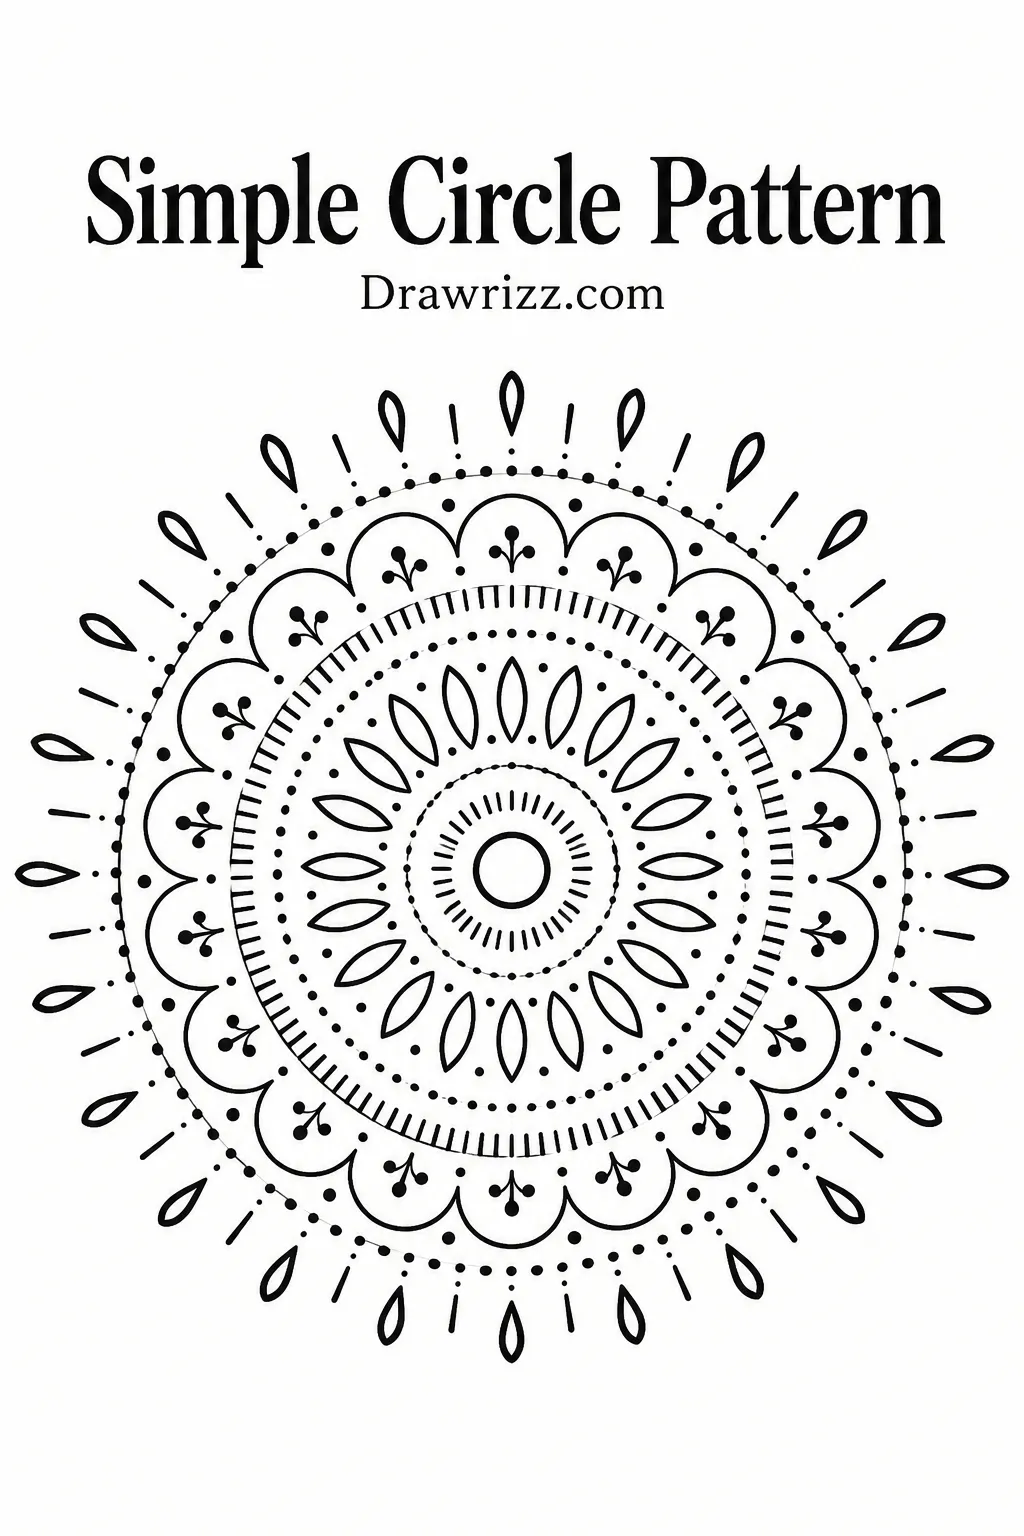
Begin with a small center circle and surround it with several evenly spaced rings. Fill each section with basic lines, tiny arcs, dots, or teardrop shapes. Keeping the first design simple lets you concentrate on spacing and repetition without making the page feel complicated.
2. Easy Petal Design
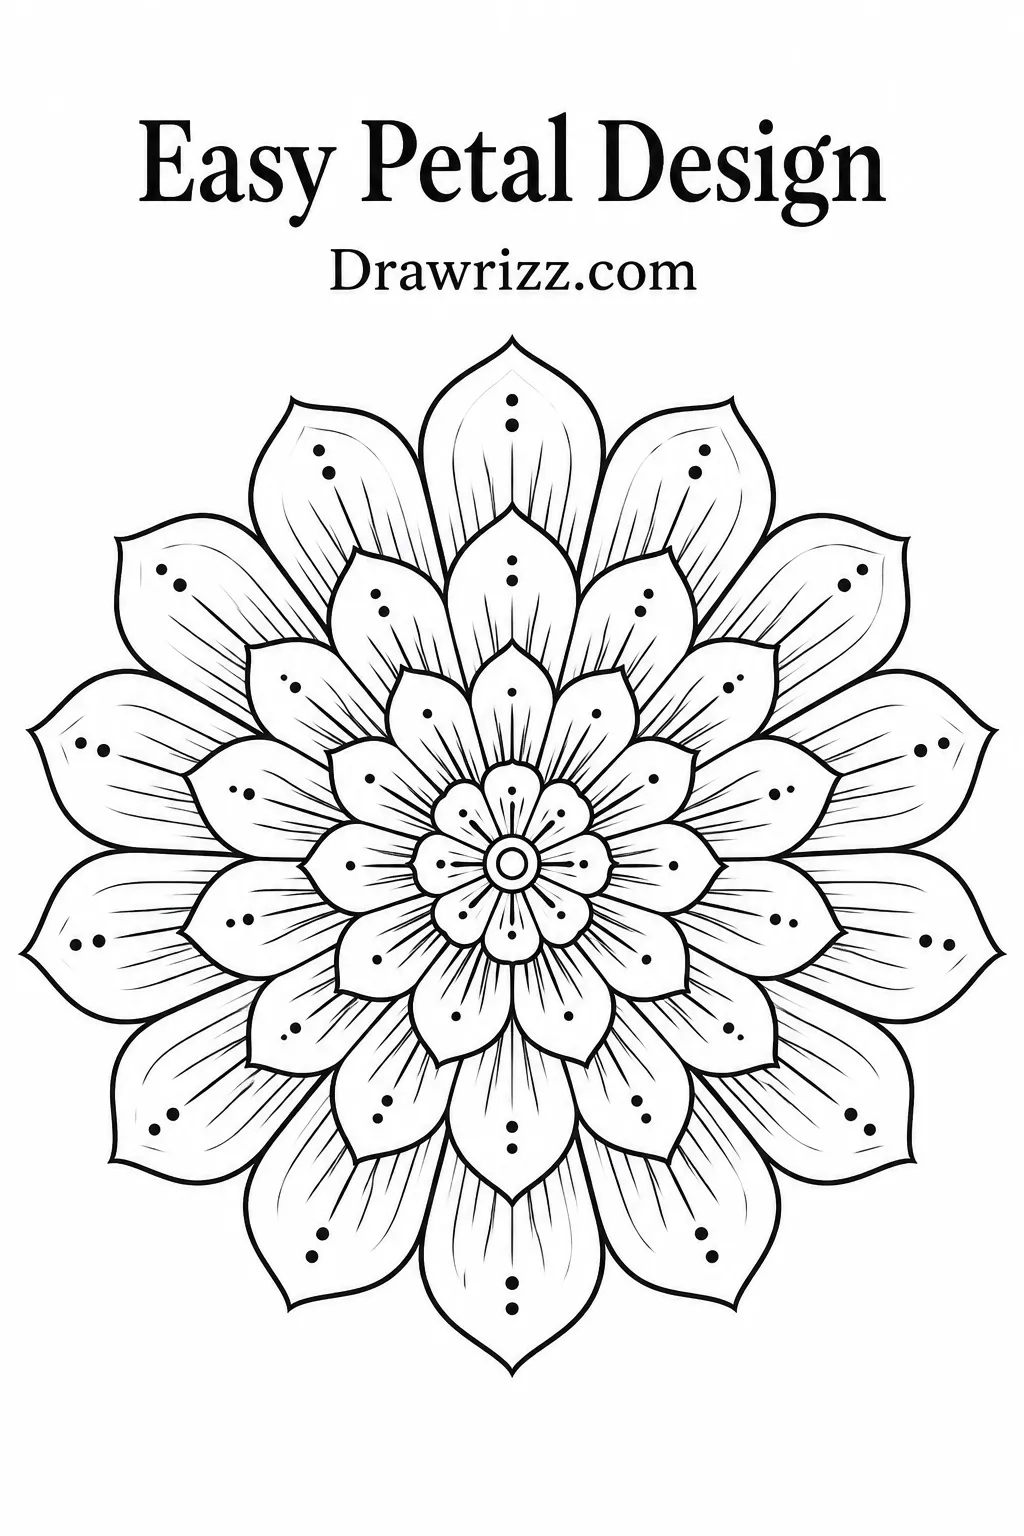
Draw a small flower at the center and repeat rounded petals around it. Add a second layer of slightly larger petals to create depth. Thin outlines and small details inside each petal can make the finished artwork look intricate without requiring difficult techniques.
3. Lotus Flower Pattern
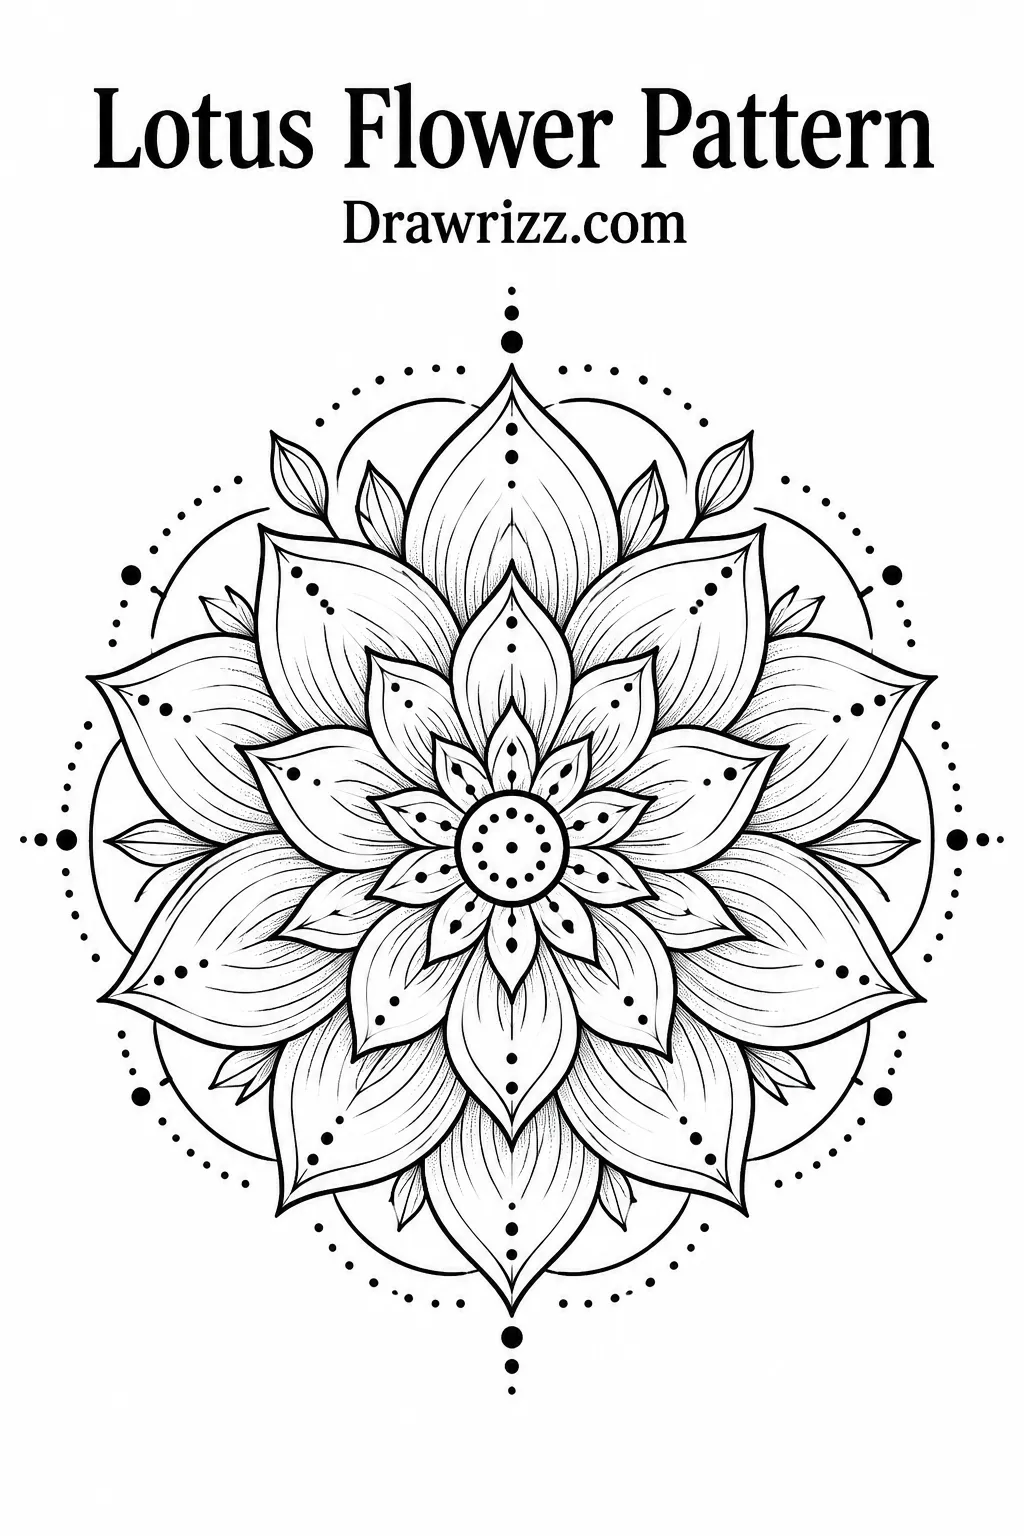
A lotus provides a natural structure for radial artwork. Start with pointed petals in the center, then place larger petals behind them. Decorate the open spaces with small dots or curved lines to give the composition a graceful, finished appearance.
4. Geometric Circle Design
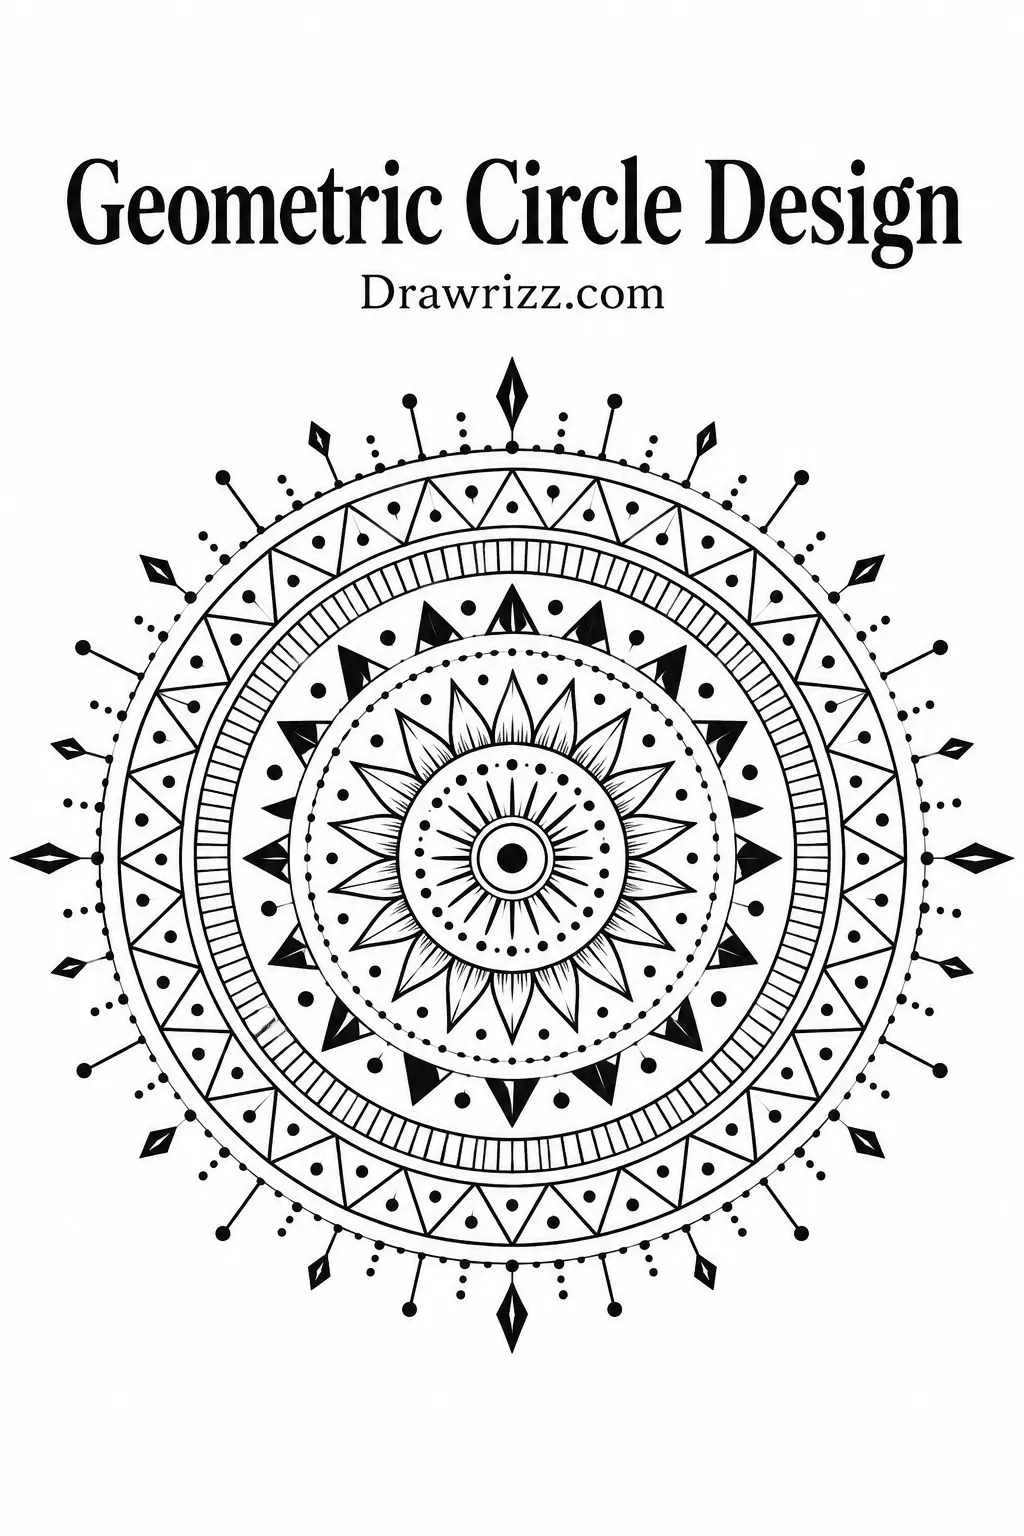
Use triangles, diamonds, straight lines, and concentric circles to create a structured composition. A ruler can help you maintain sharp edges, while alternating large and small shapes gives the artwork more visual rhythm.
5. Dot and Line Pattern
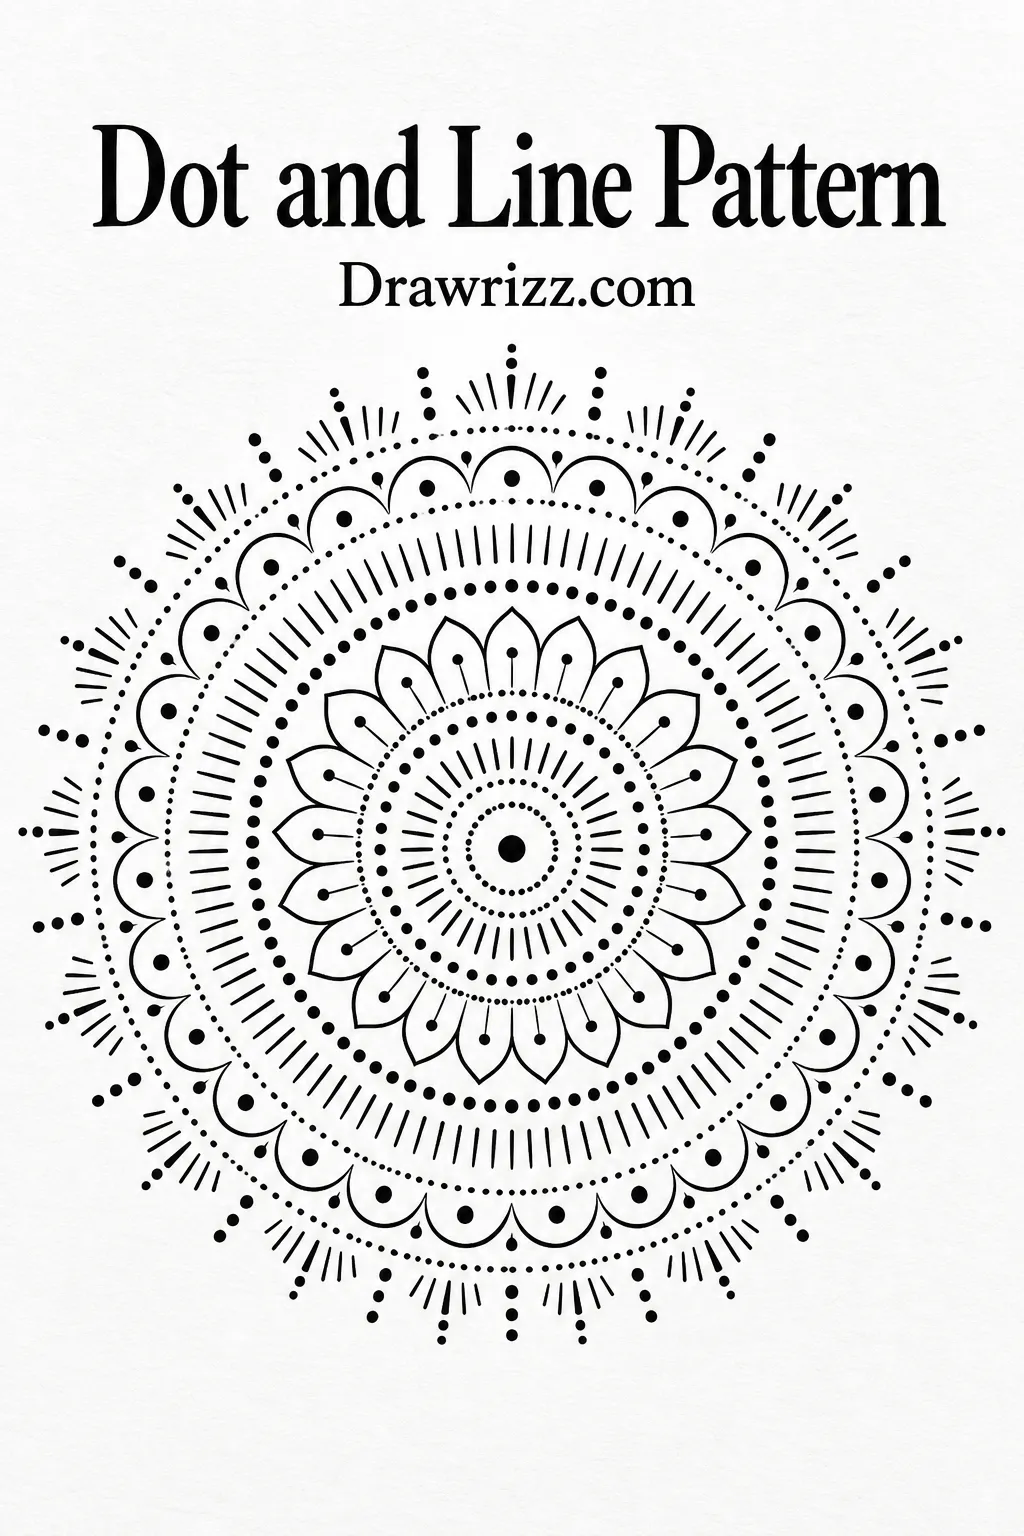
Combine tiny dots with short straight lines for a clean design that feels detailed without being difficult. Change the spacing and size of the dots as the rings move outward to create subtle contrast.
6. Sunburst Design
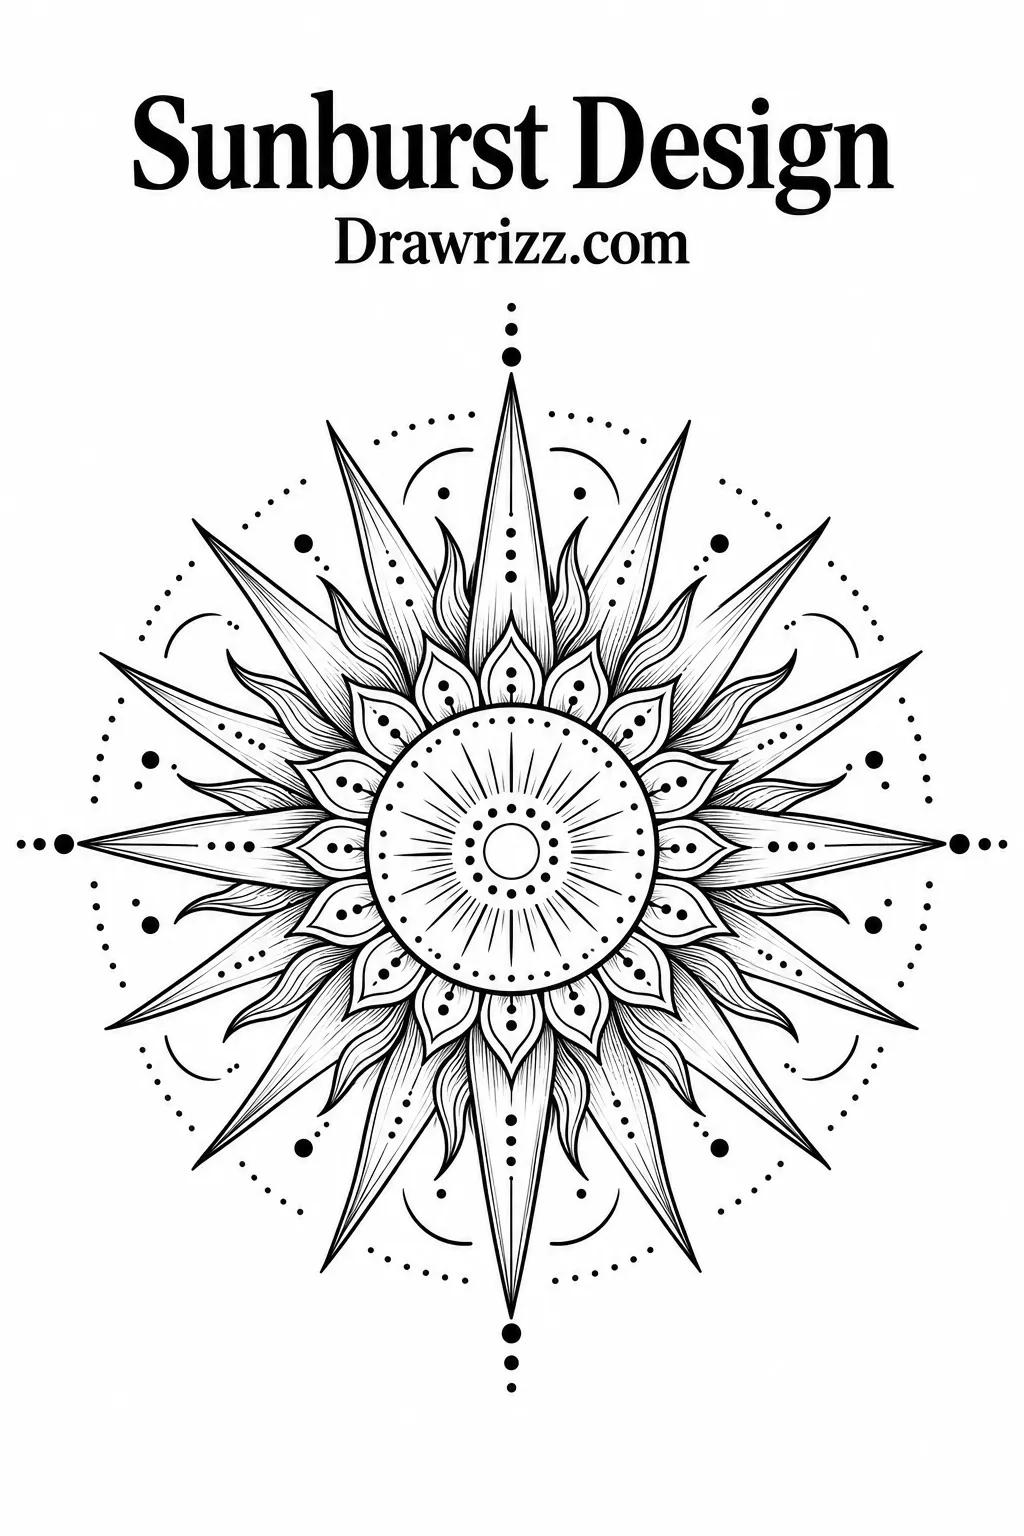
Place a small circle in the middle and extend narrow rays outward like sunlight. Alternate long and short rays, then decorate the spaces between them with tiny curves or dots. The strong directional lines give this idea an energetic appearance.
7. Leaf Ring Pattern
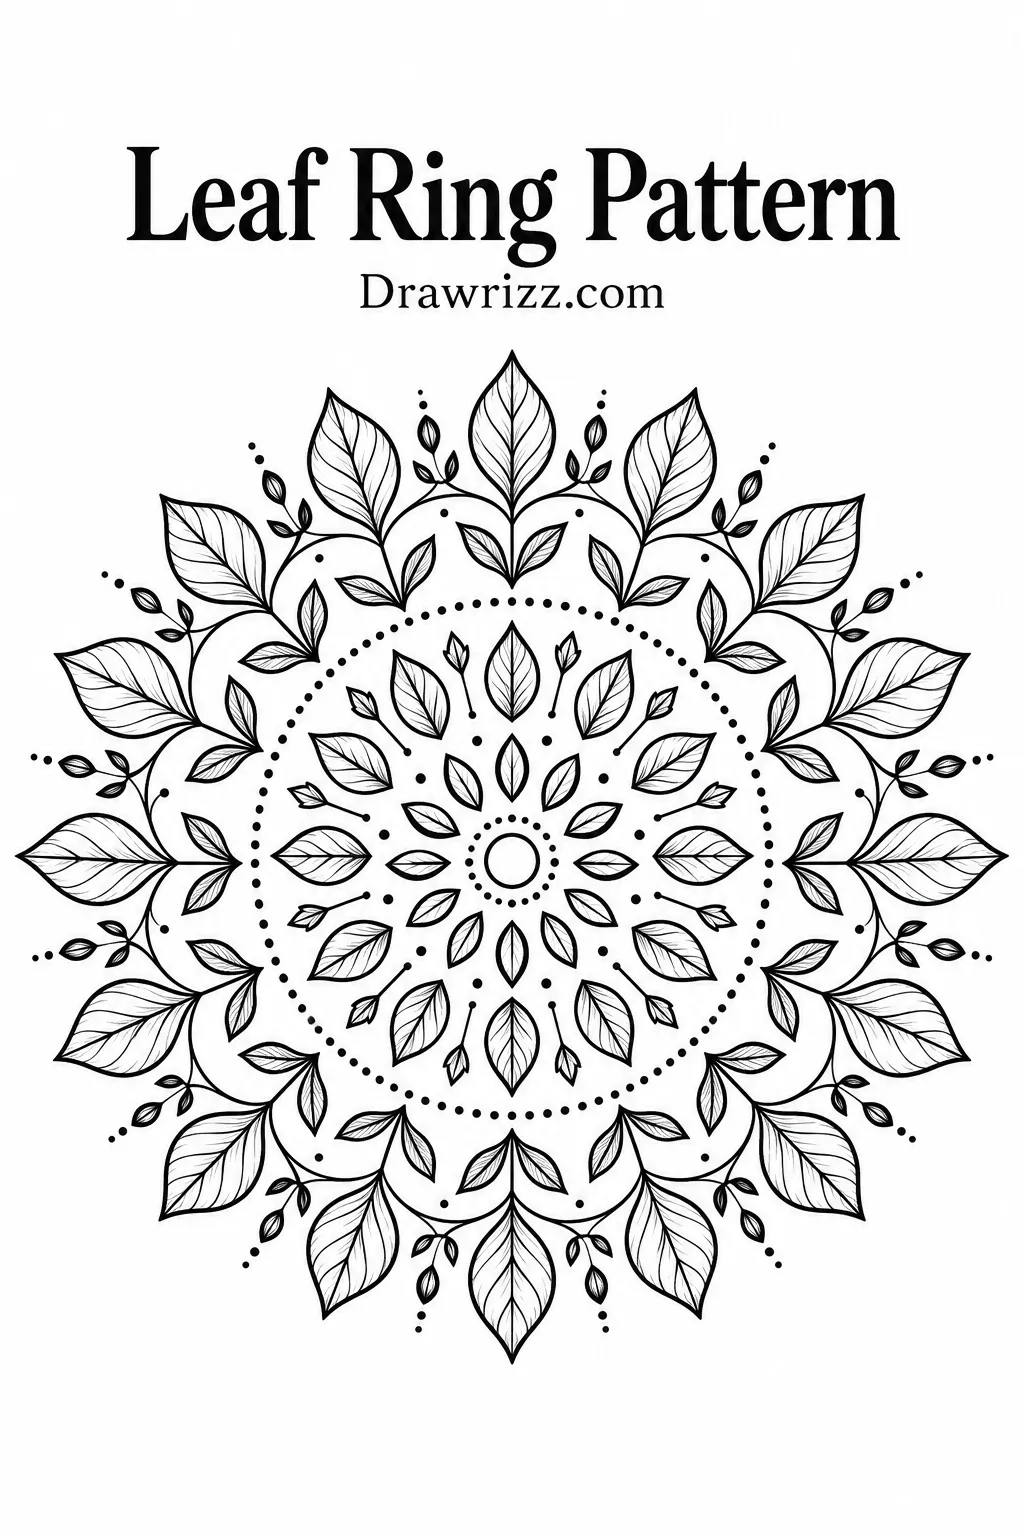
Draw small leaves around a central circle, pointing each one outward. Build additional rings with different leaf sizes and simple vein details. This botanical approach combines natural shapes with an organized radial structure.
8. Spiral Center Design
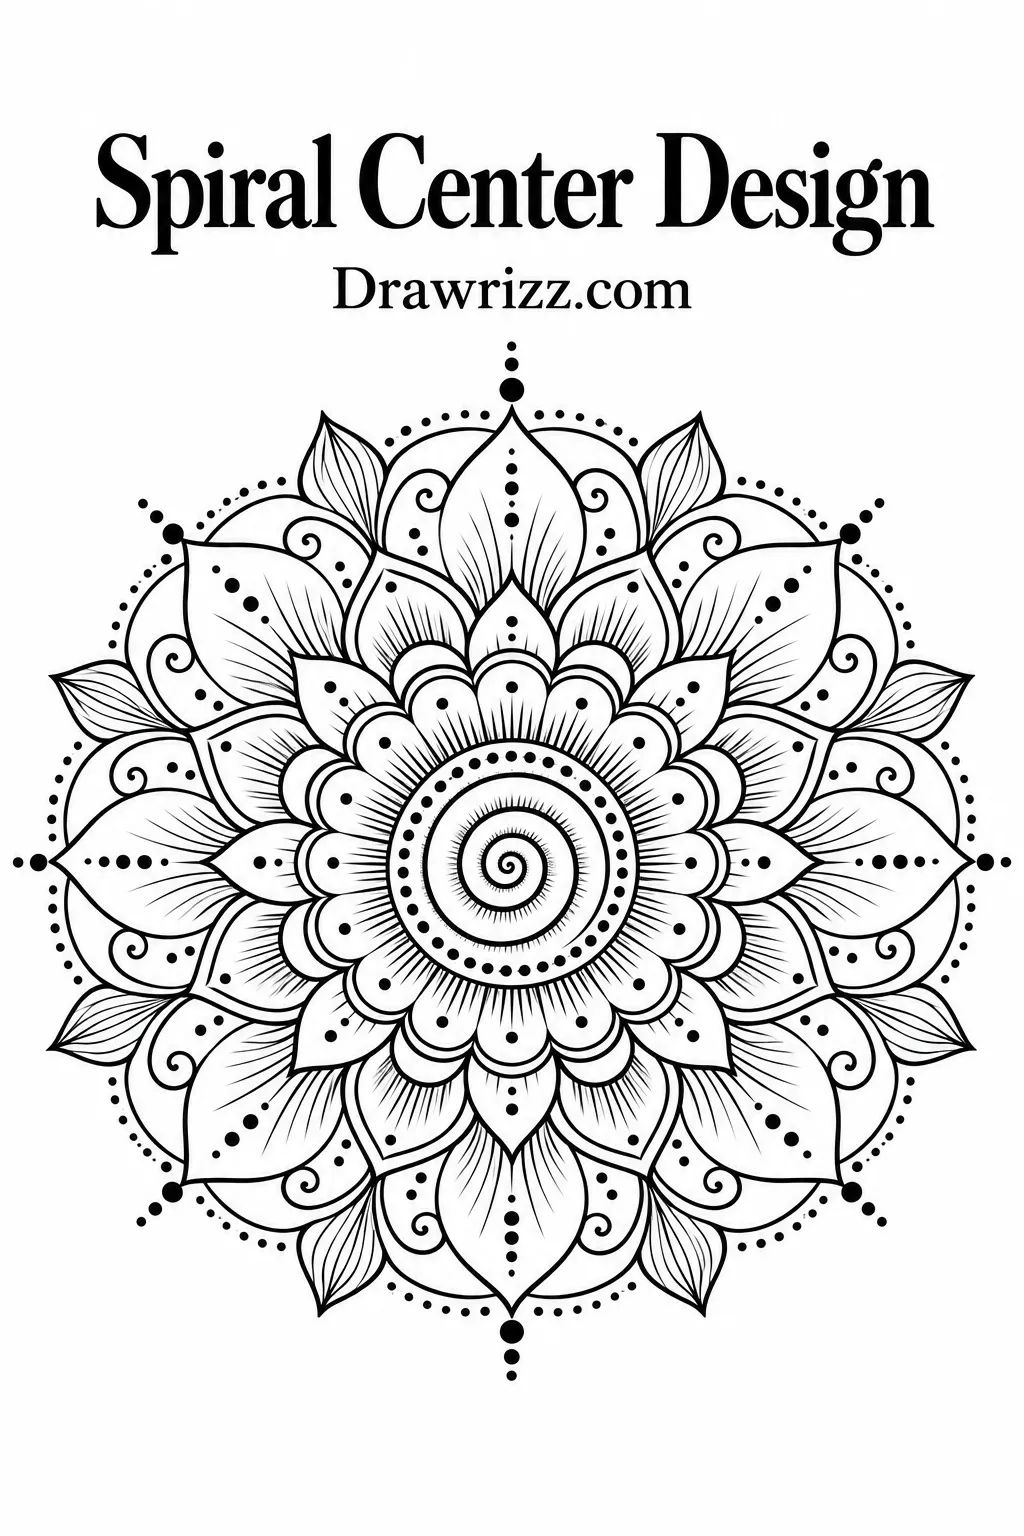
Instead of beginning with a plain dot, use a small spiral as your focal point. Continue the movement through curved petals, loops, and circular bands. Repeating the curved direction creates a flowing appearance across the page.
9. Heart-Shaped Pattern
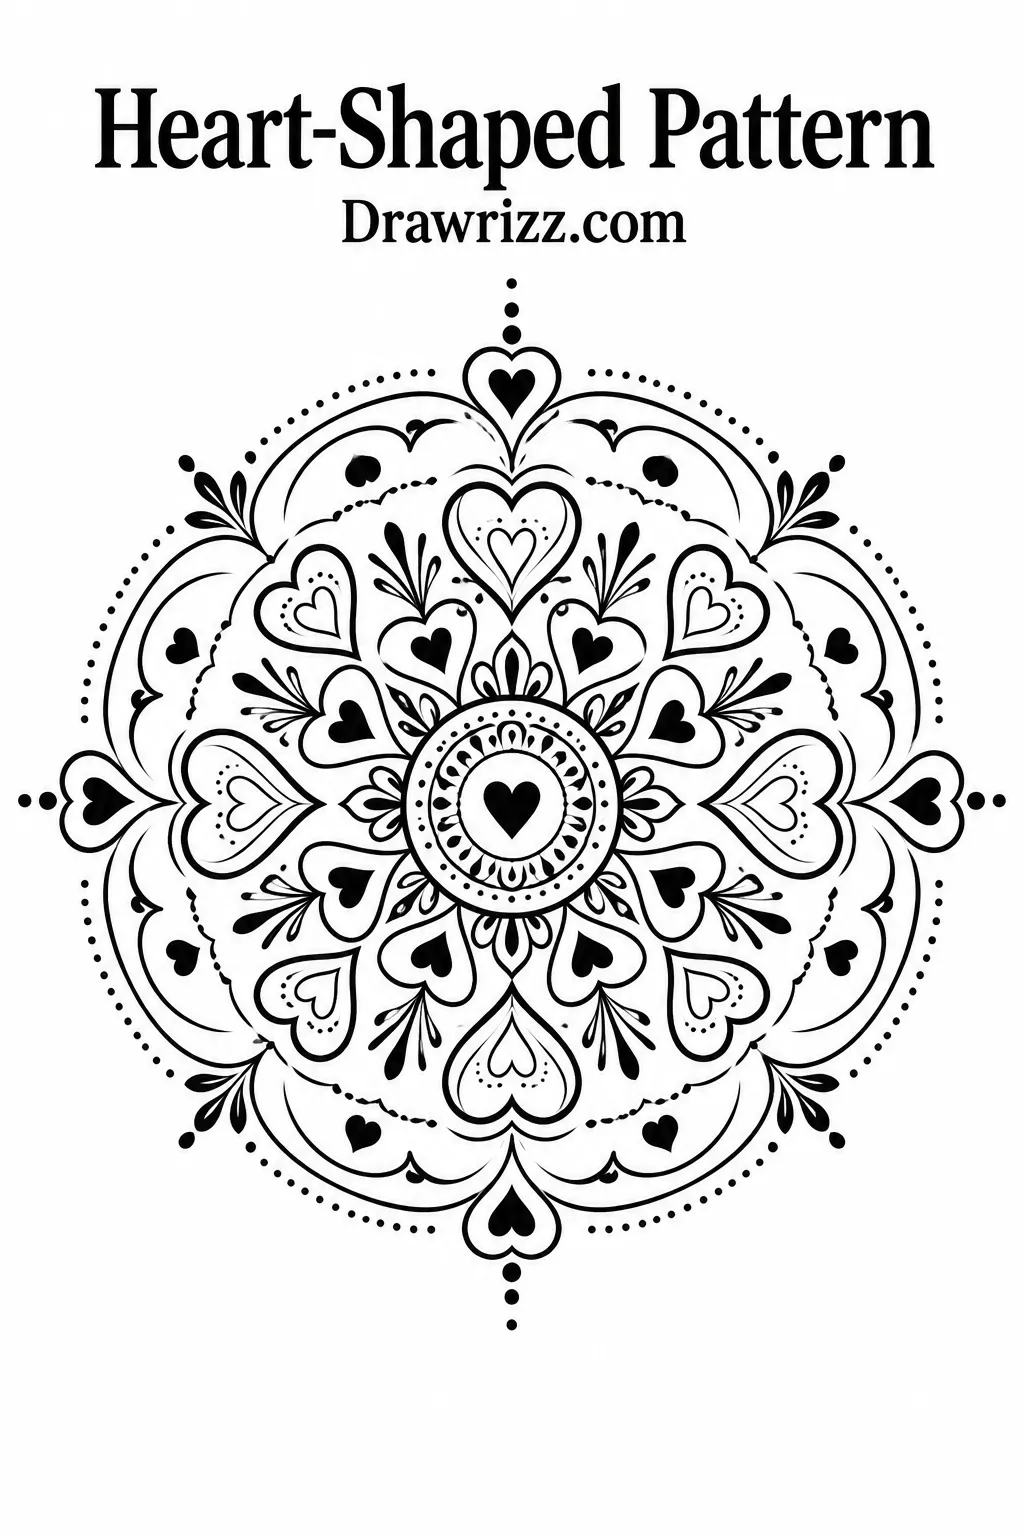
Use tiny hearts instead of traditional petals. Arrange them around the center and repeat the motif in wider rings. Alternating upright and inverted hearts can produce an attractive pattern while keeping the individual shapes easy to draw.
10. Minimalist Line Art
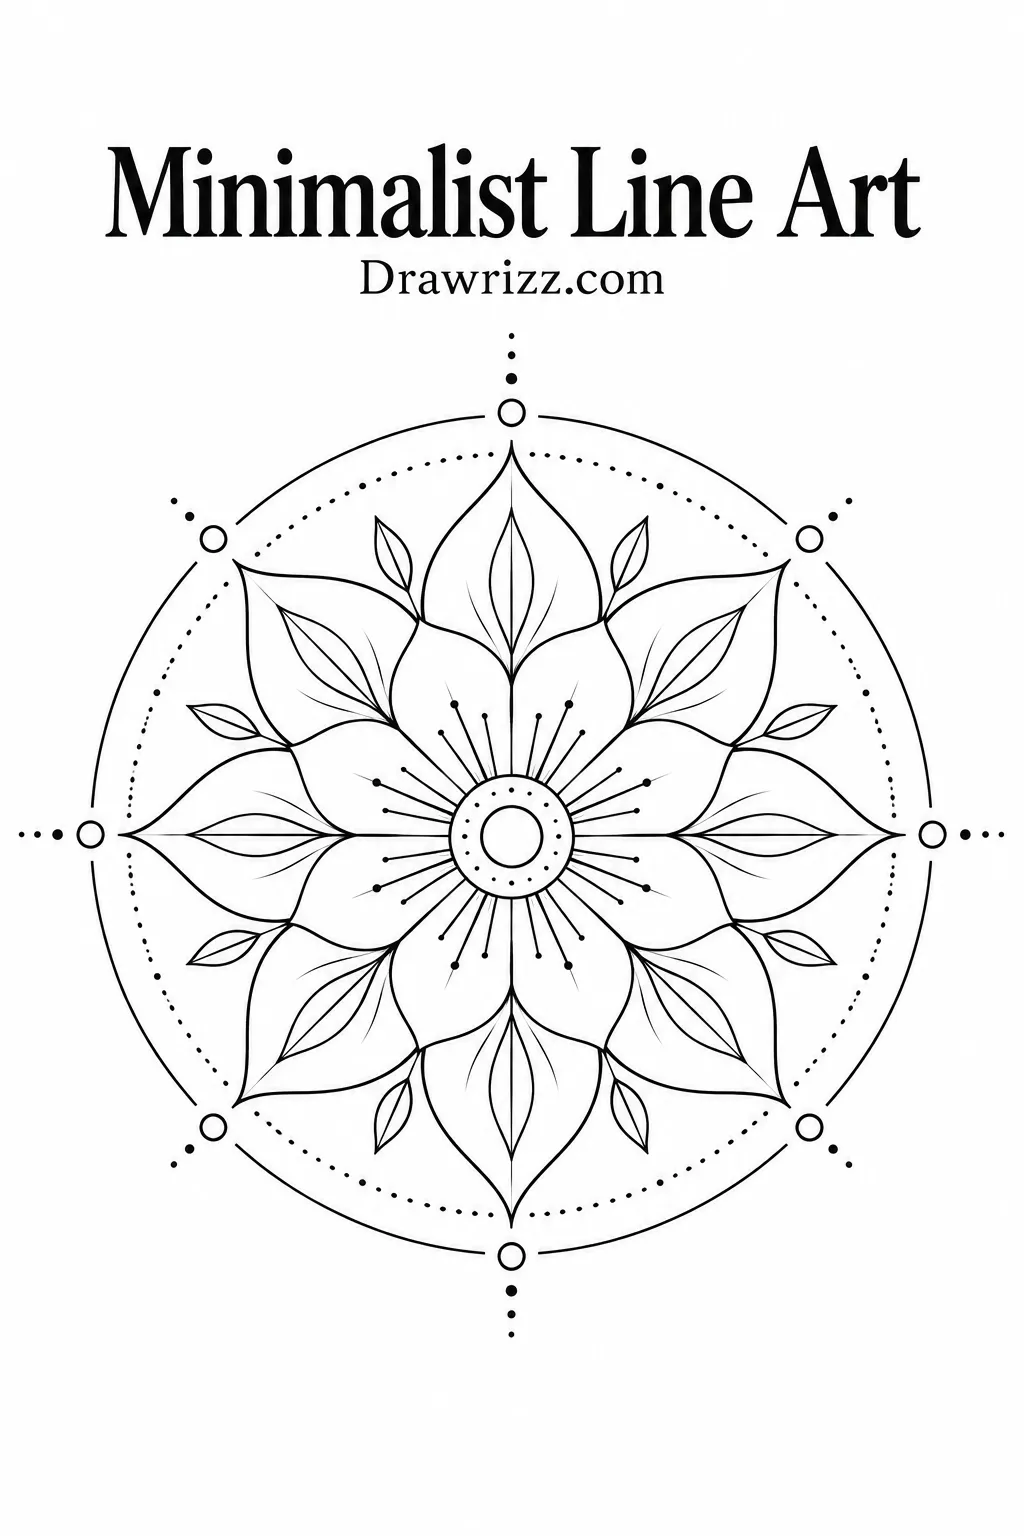
A beautiful pattern does not need to cover the entire page. Try a few spacious rings made from thin lines, open petals, and small dots. Leaving more white space gives the artwork a modern and understated feel.
11. Daisy-Inspired Design
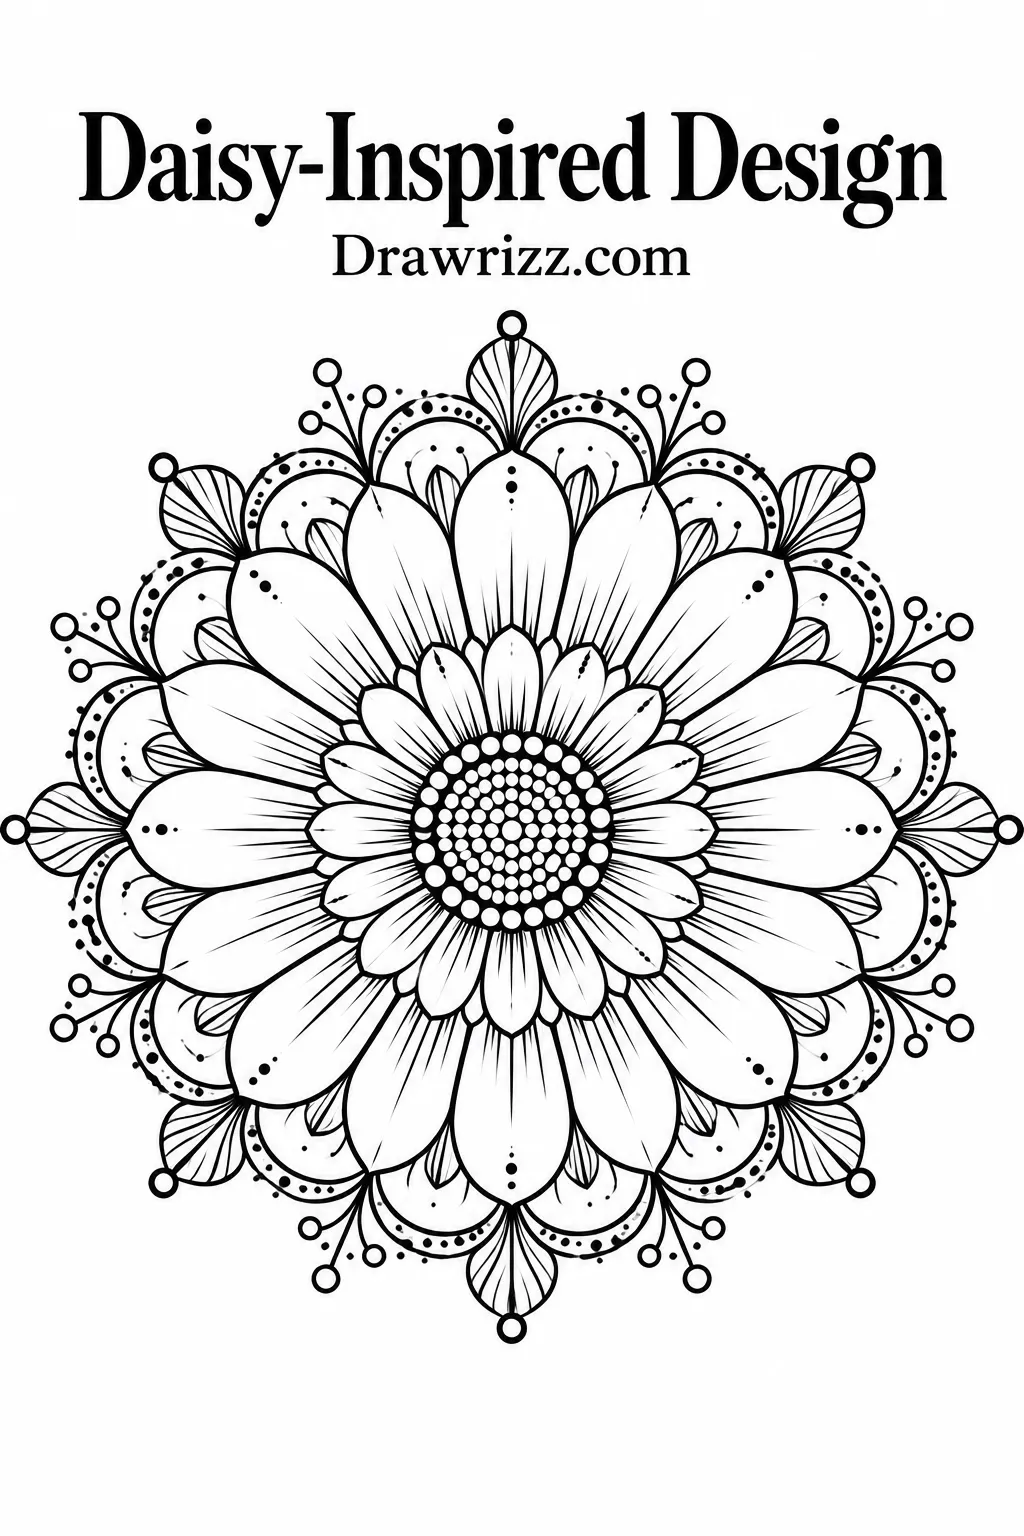
Build the artwork around a cheerful daisy center. Repeat simple petals in several layers, changing their length as you move outward. Small circles and fine lines between the petals can make the pattern more decorative.
12. Triangle Pattern
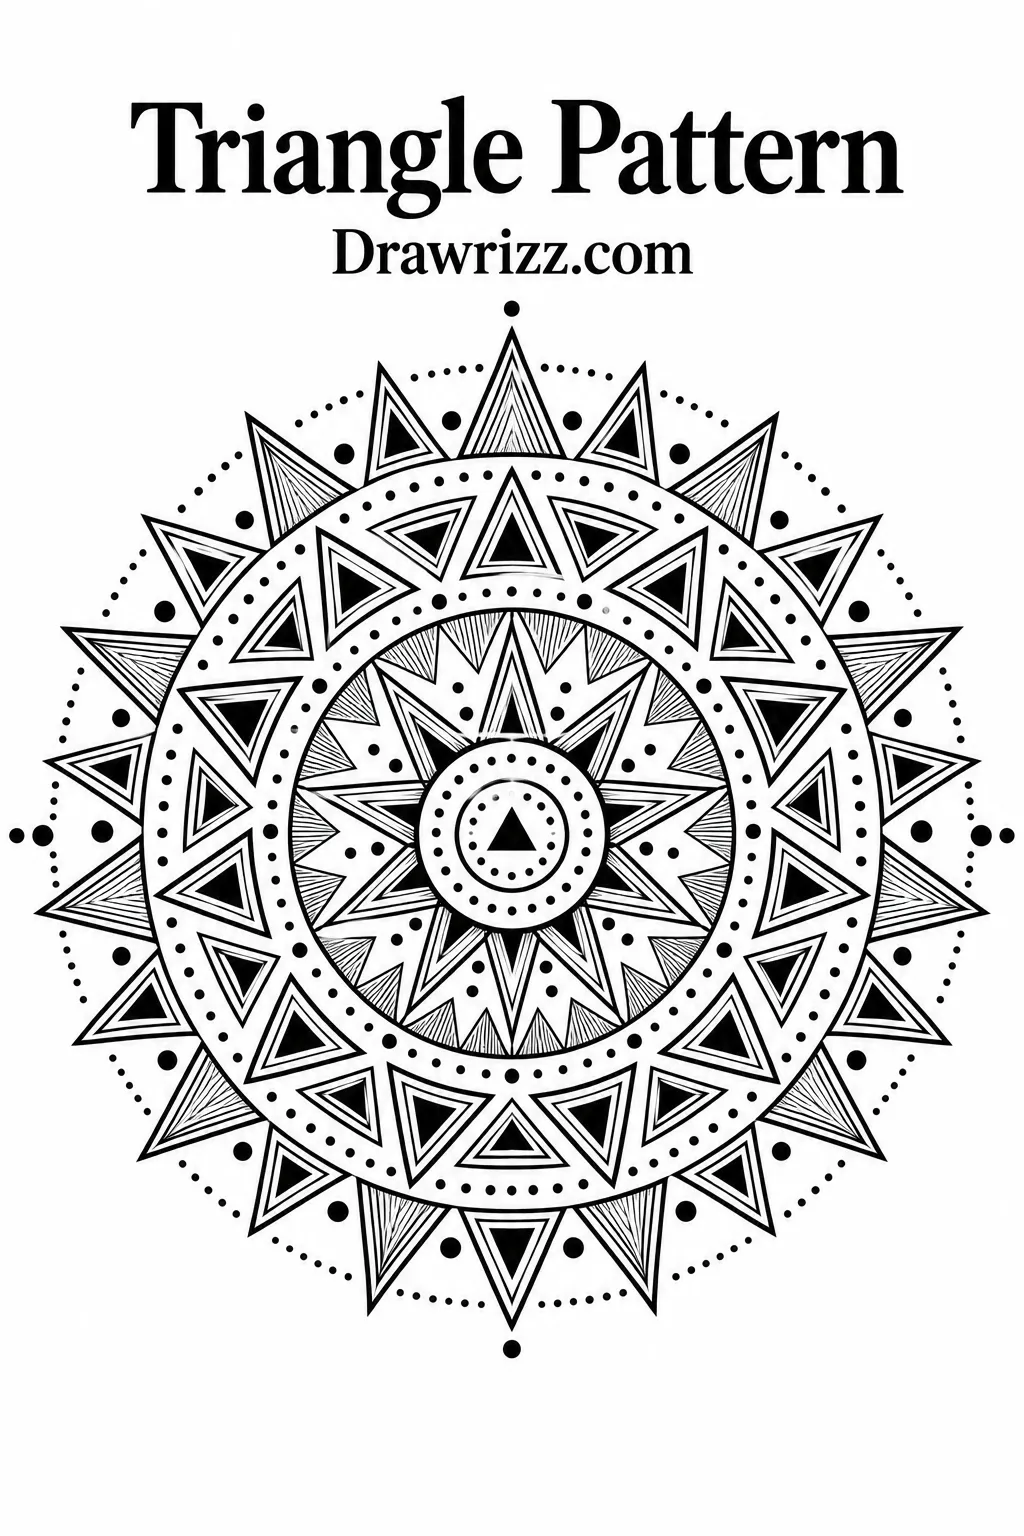
Triangles work especially well when you want a sharper, more structured look. Repeat small triangles around the center and gradually increase their size. Add alternating lines or dots inside selected shapes for contrast.
13. Crescent Moon Design
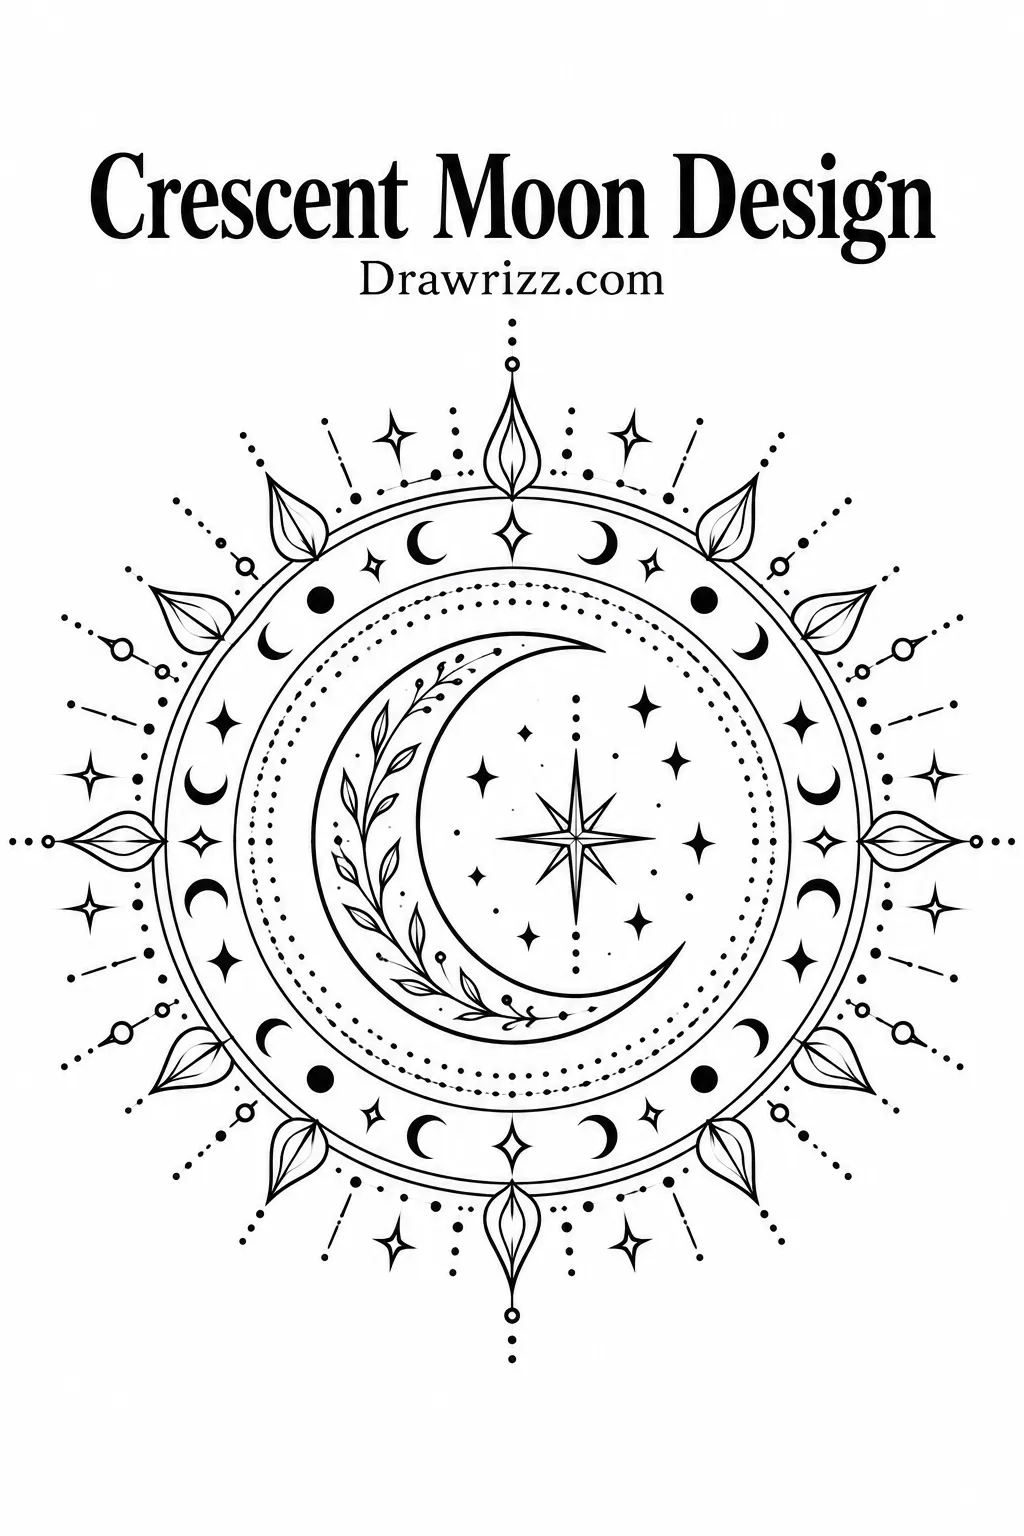
Place a crescent shape in the middle and surround it with stars, dots, curved lines, and ornamental rings. This gives the artwork a celestial theme while still allowing the surrounding pattern to remain balanced.
14. Star Center Pattern
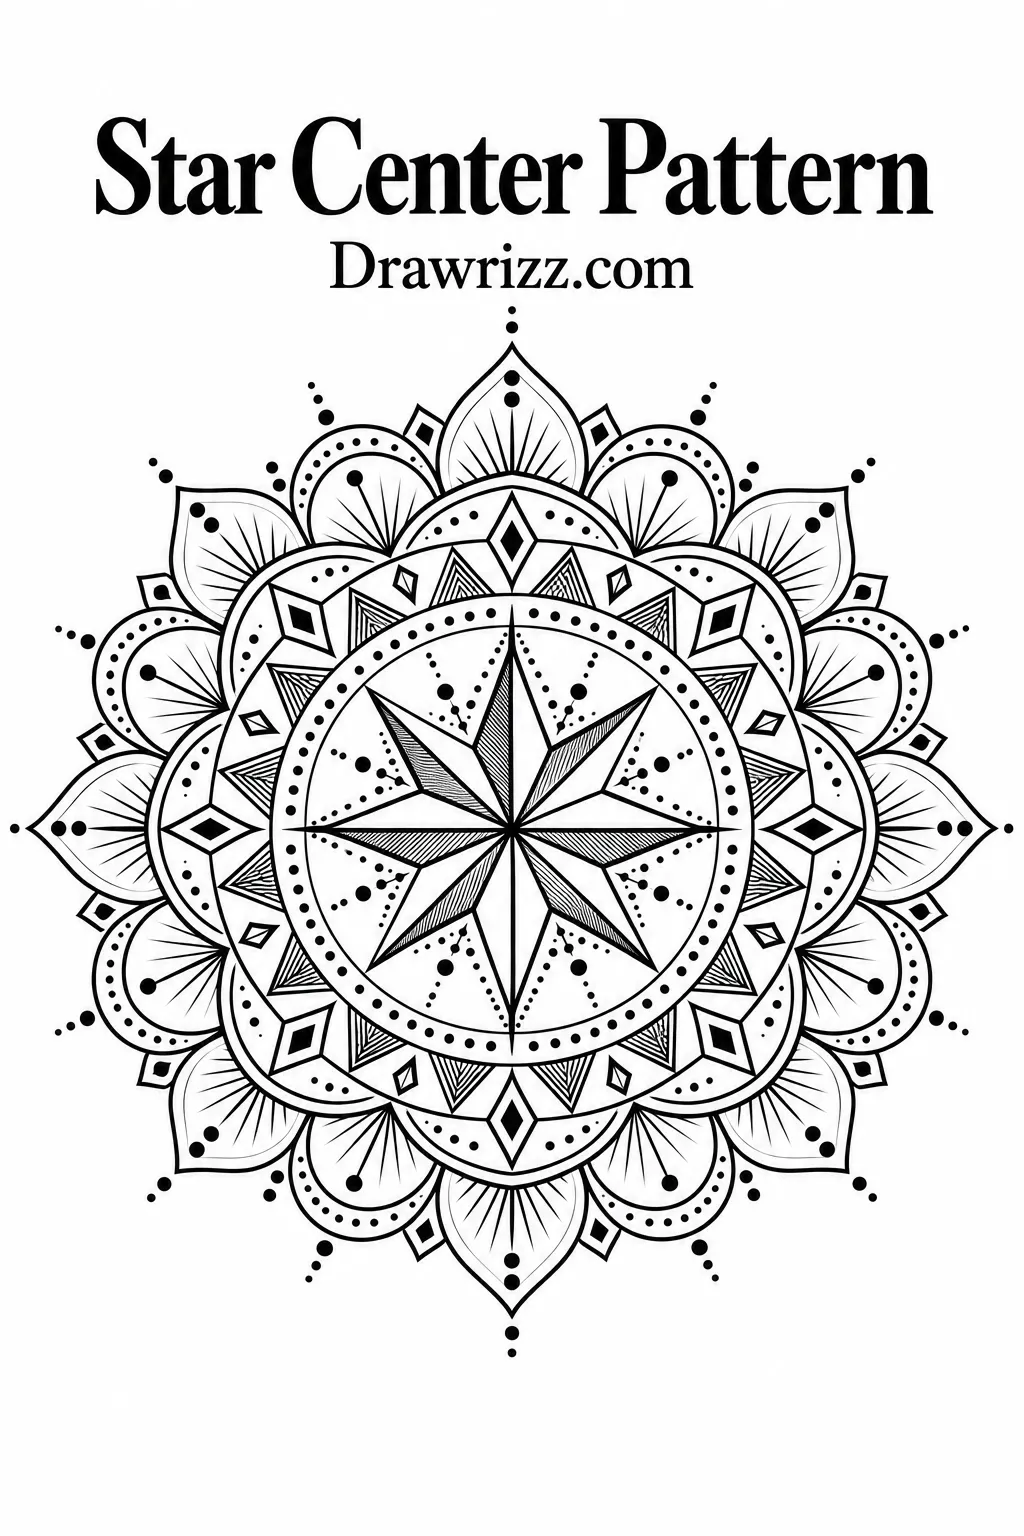
Start with a five-, six-, or eight-point star and use its points as guides for the surrounding sections. Continue outward with diamonds, triangles, and small arcs for a crisp geometric appearance.
15. Butterfly-Inspired Pattern
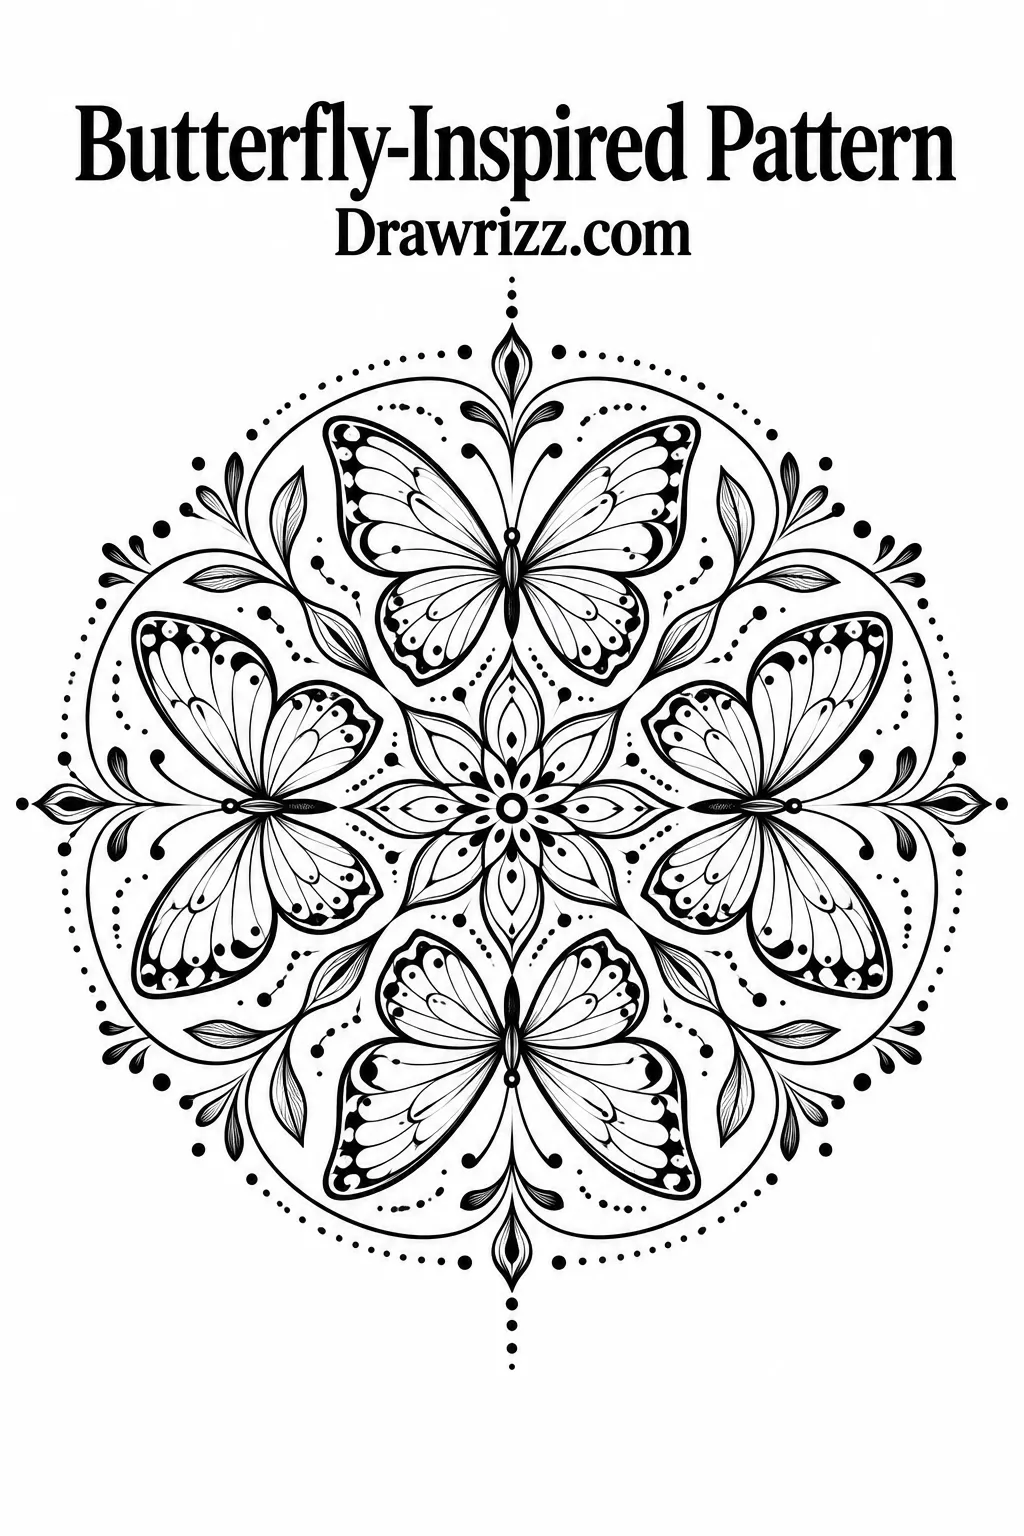
Use butterfly wings as the repeating motif around a small center. Simplify the wings into symmetrical shapes and decorate them with dots, curved lines, and tiny sections. The result can feel playful while remaining organized.
16. Flower and Leaf Combination
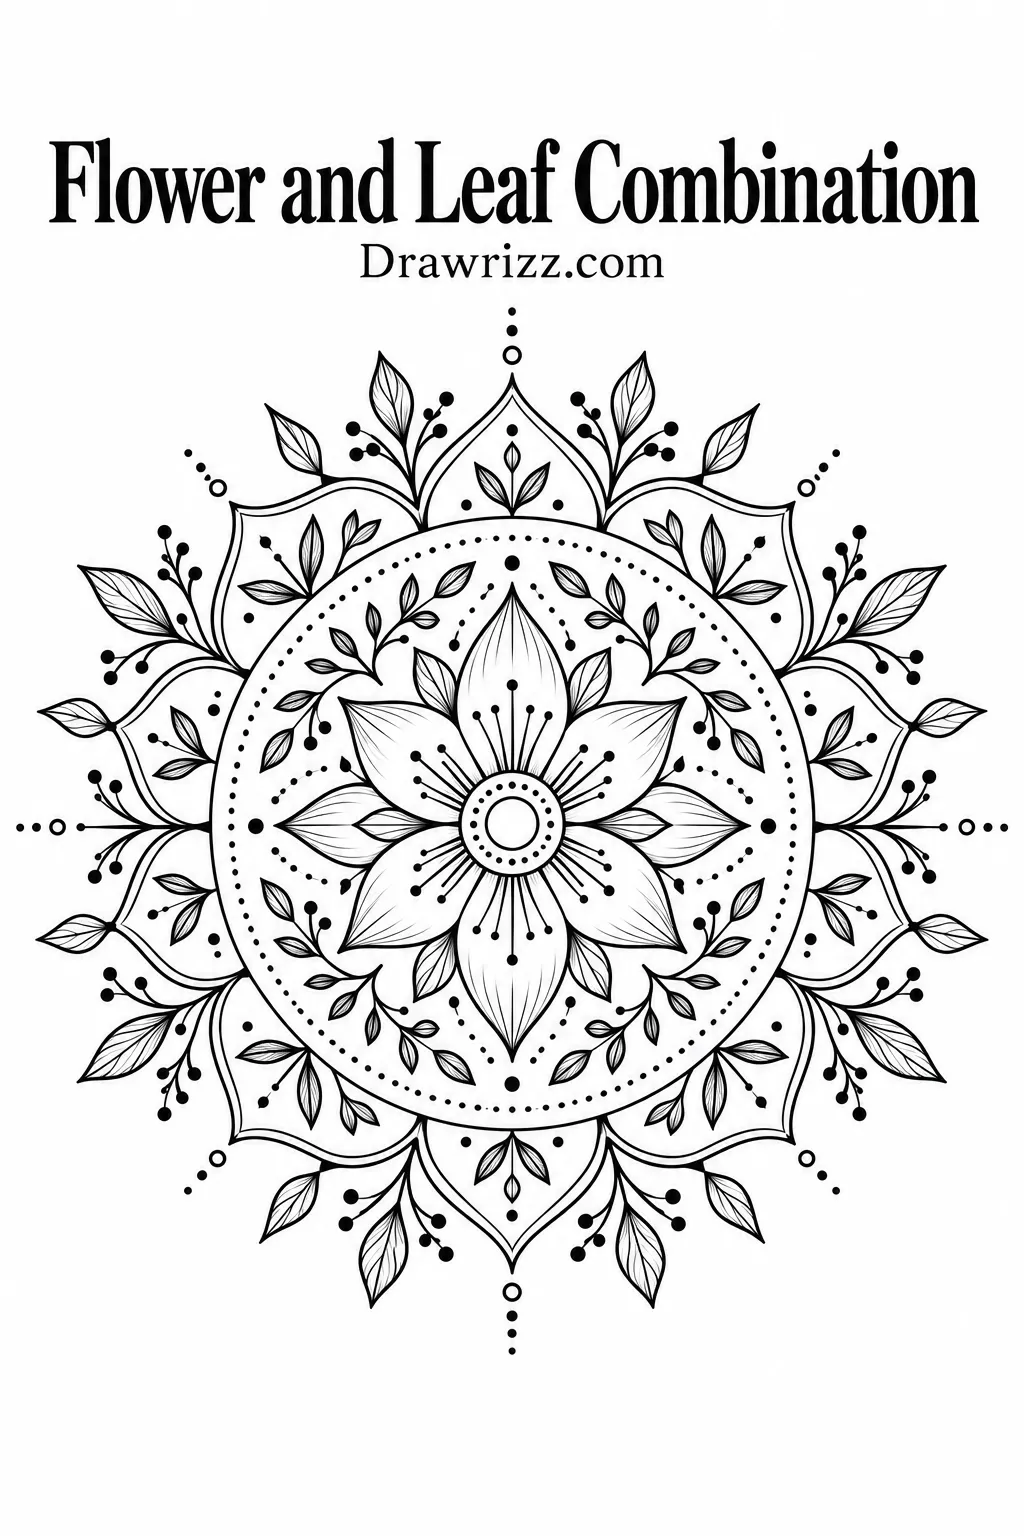
Mix pointed petals with small leafy branches to create an organic arrangement. Let the flowers form the main rings while the leaves fill gaps between them. This is a useful way to make a botanical design feel fuller without adding excessive detail.
17. Half-Circle Border
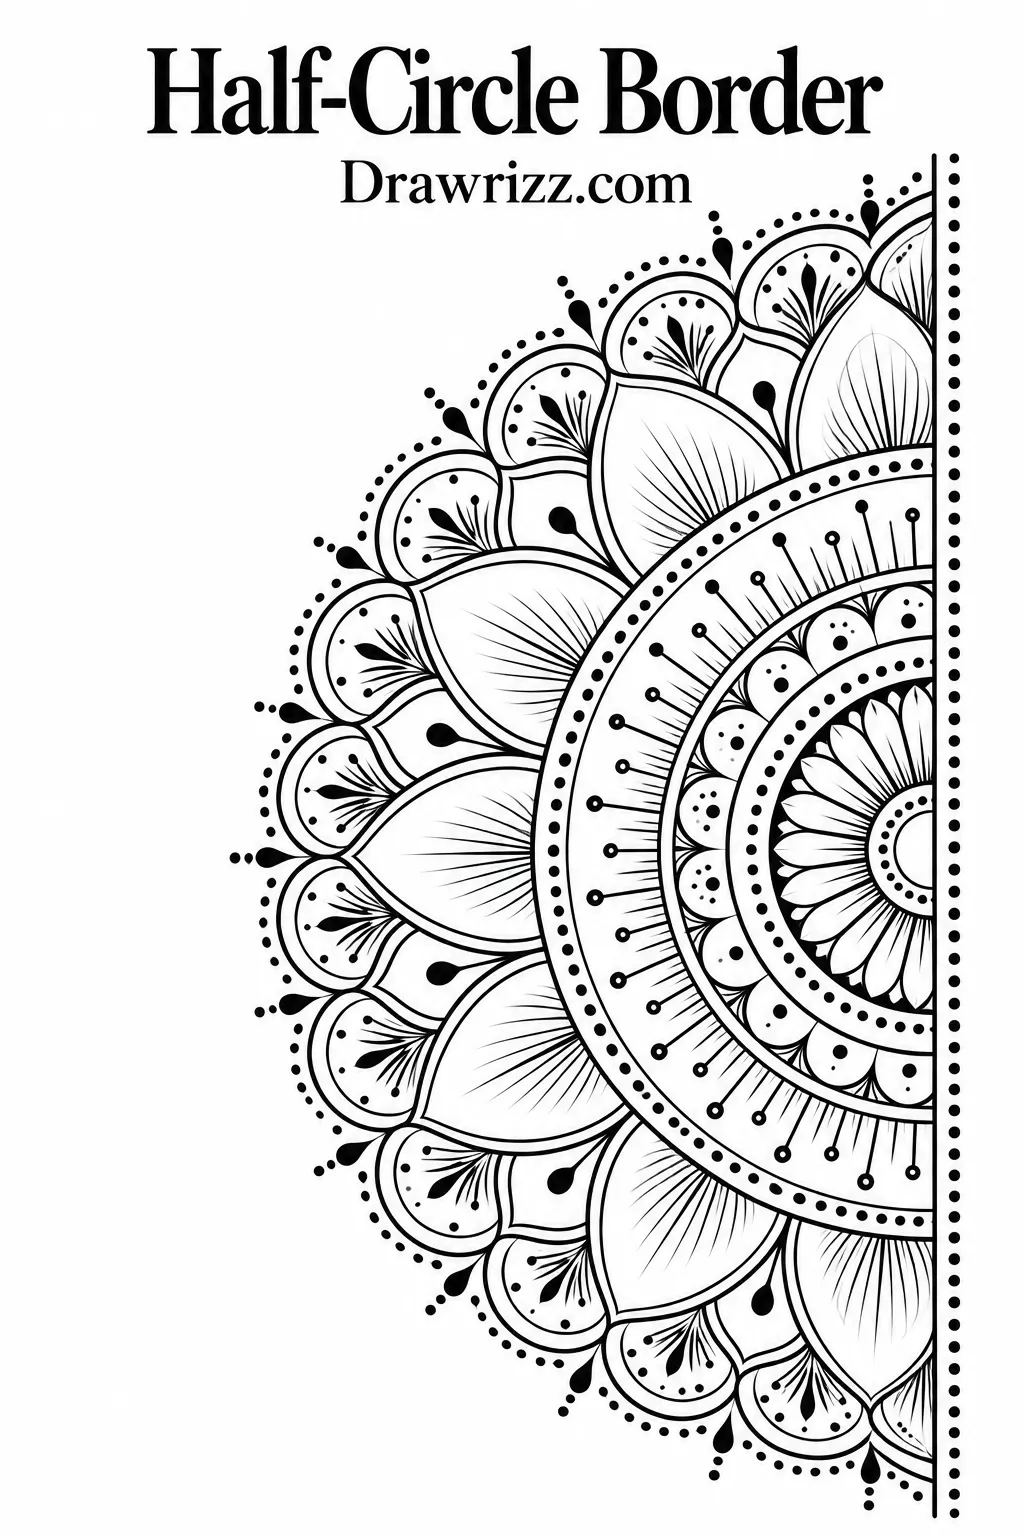
You do not always need a complete circle. Draw half of the design along the edge of a sketchbook page and let petals, arches, and decorative lines expand inward. This works especially well for journal pages and decorative borders.
18. Full-Page Corner Design
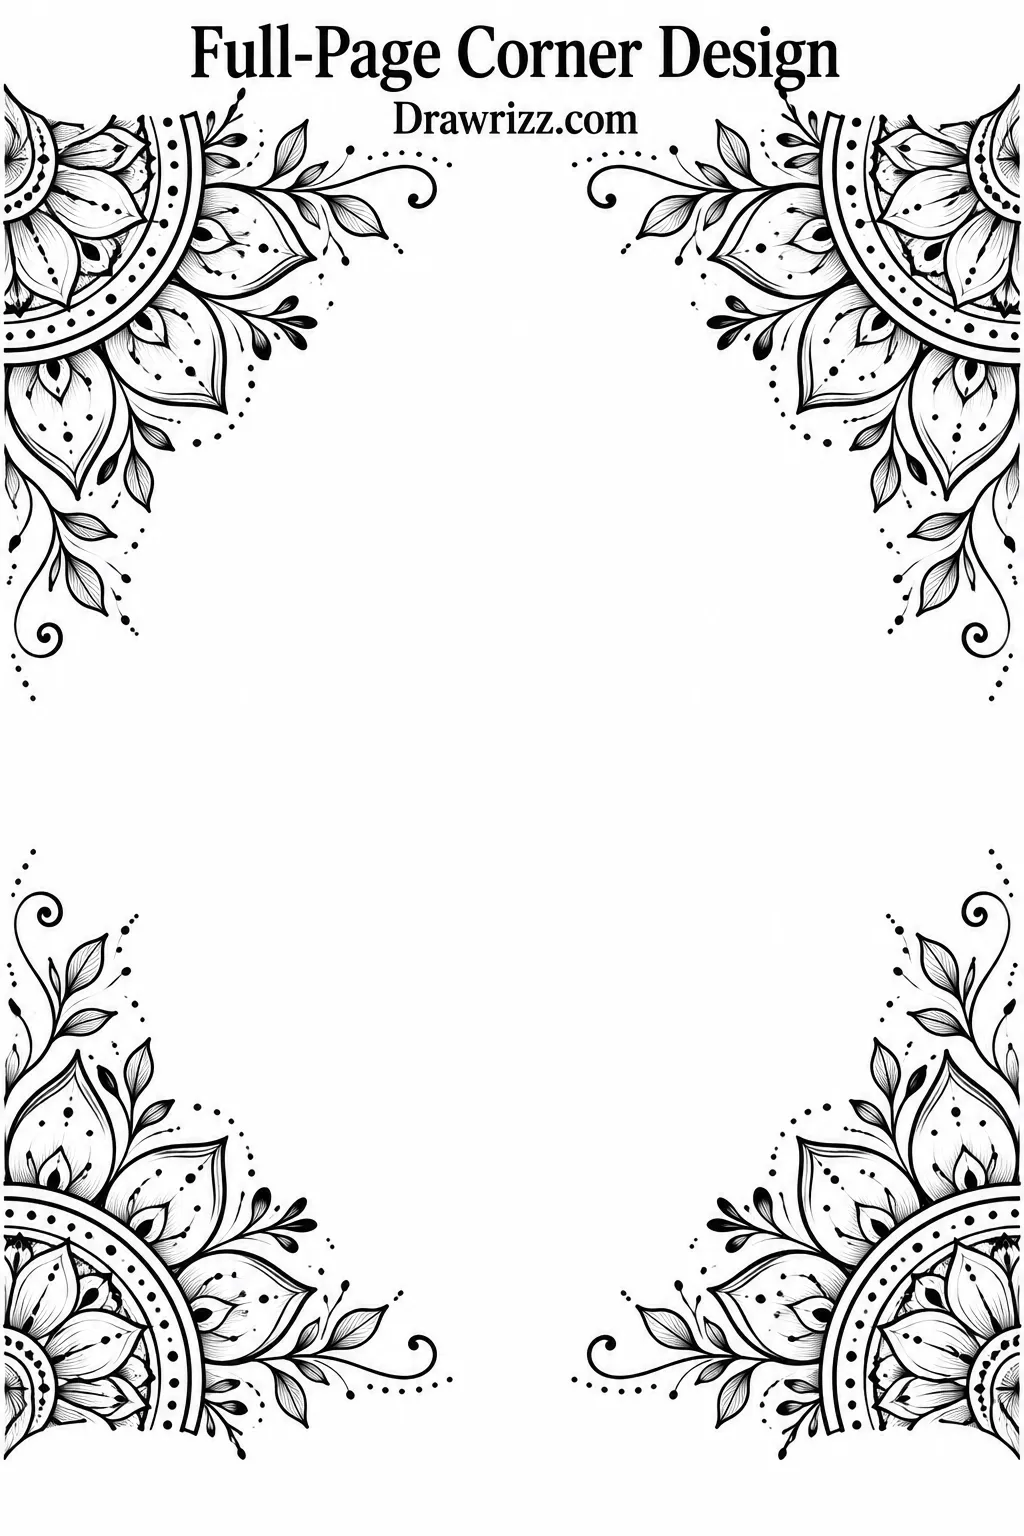
Create partial circular patterns in two or four corners instead of placing one large shape in the middle. Keep the central area open. This layout can turn an ordinary sketchbook page into an elegant decorative composition.
19. Diamond Layer Design
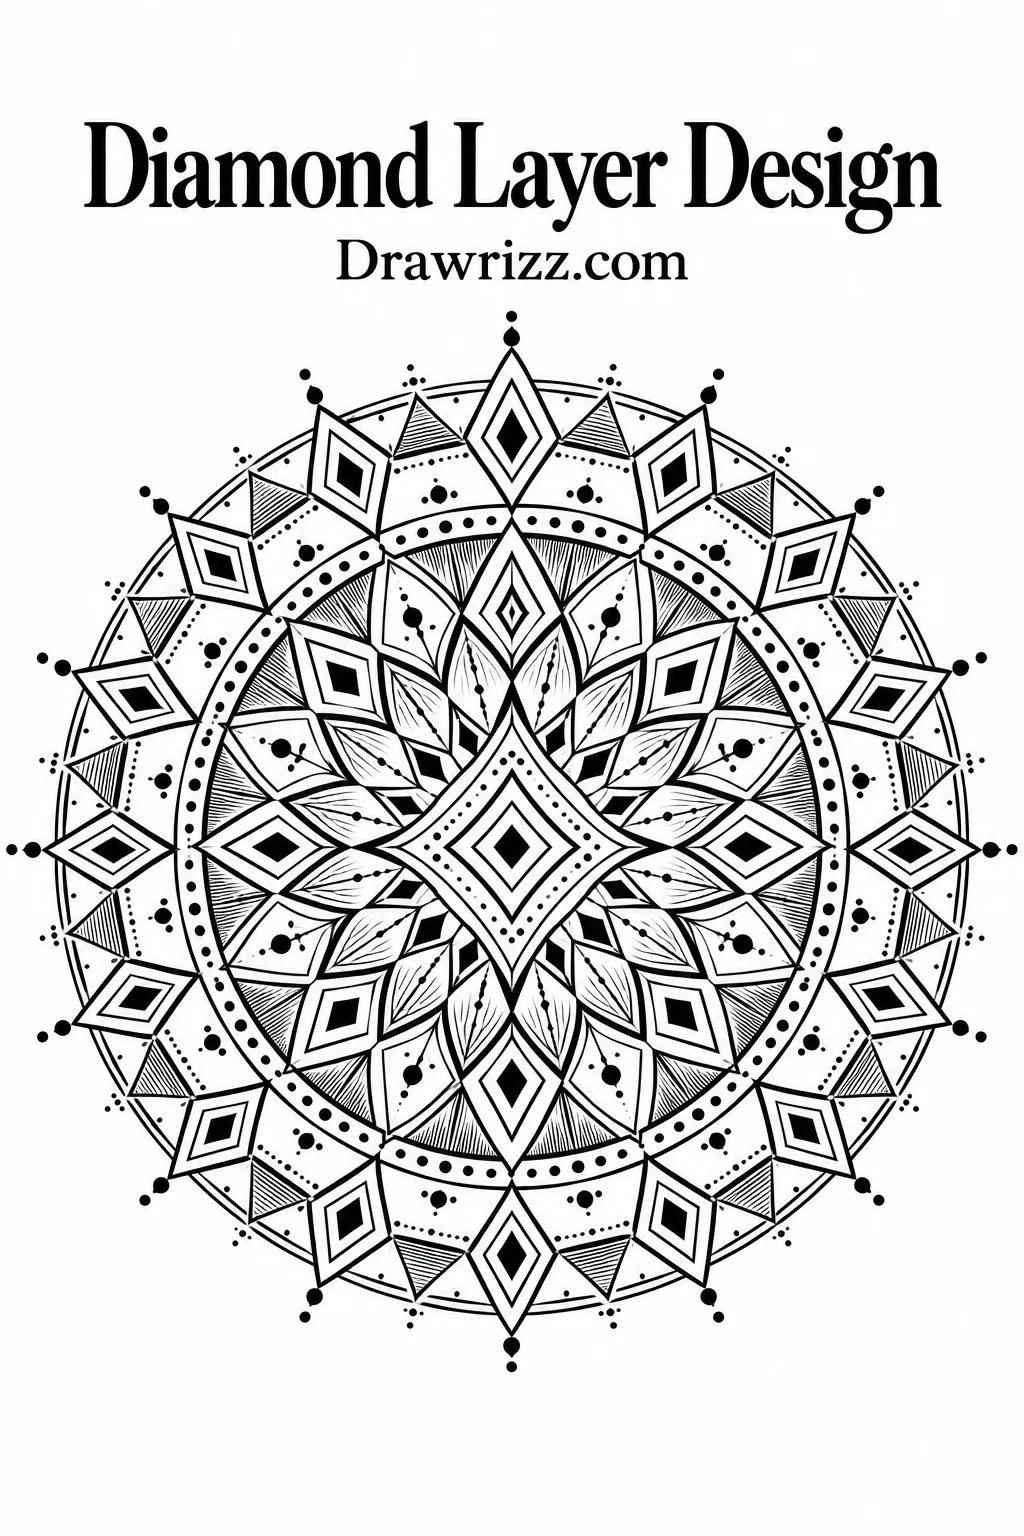
Build each ring using repeated diamond shapes. Place smaller diamonds inside larger ones or alternate them with tiny dots and narrow lines. This creates a crisp structure that works well with black fineliners.
20. Scalloped Ring Pattern
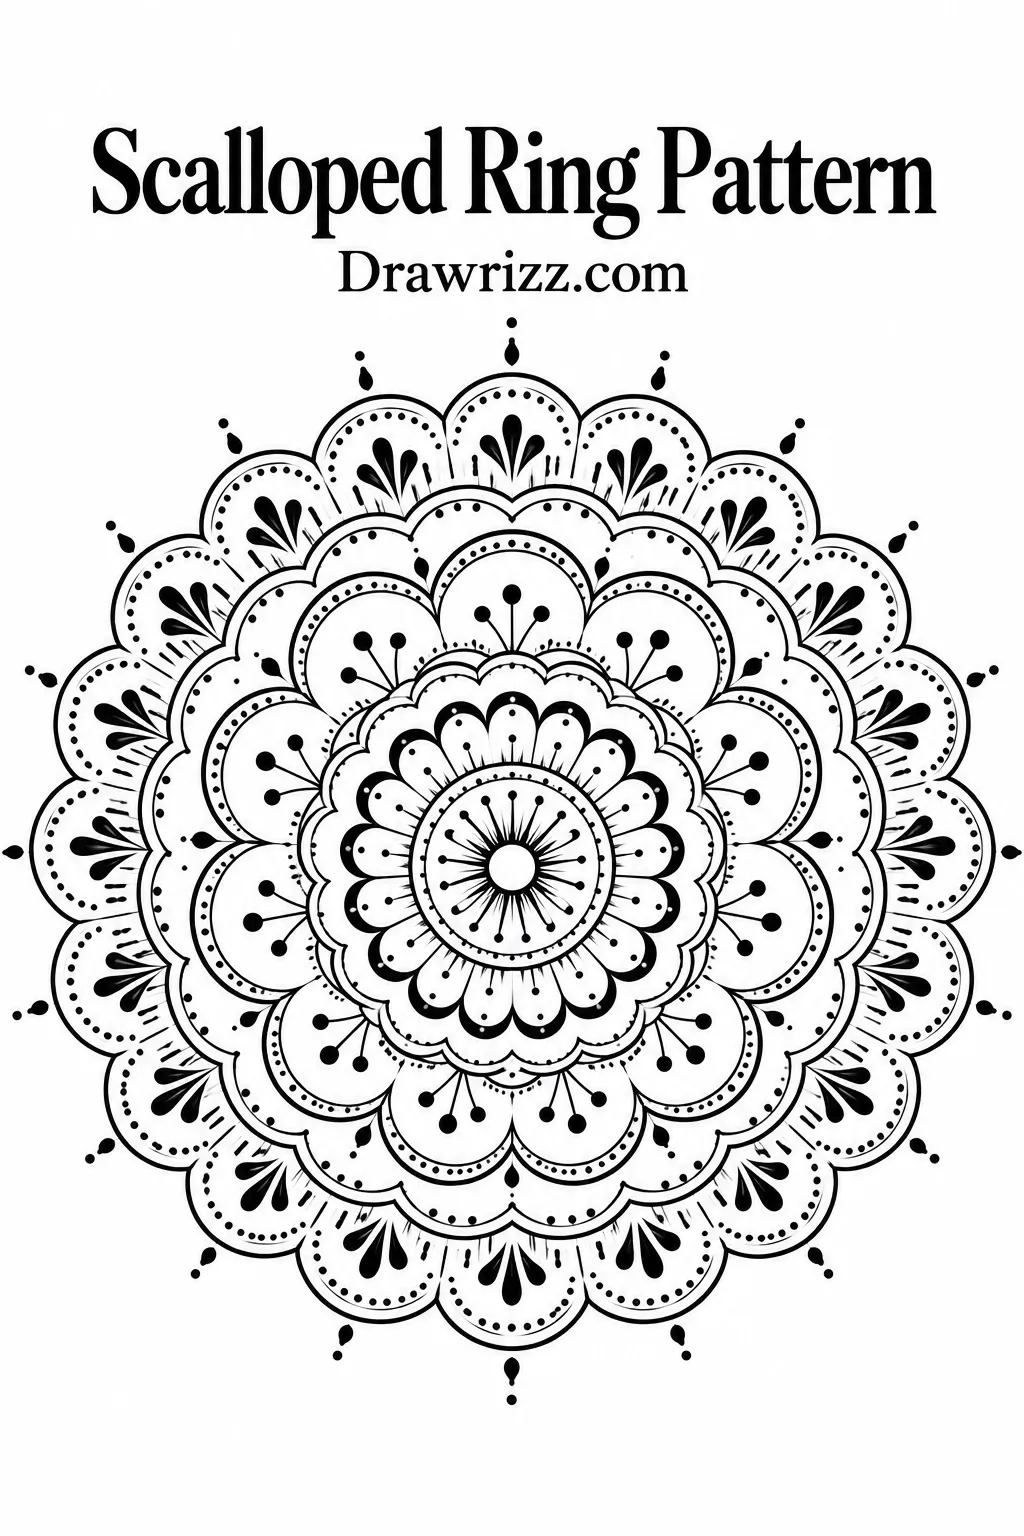
Use repeating semicircles to form scalloped rings around the center. Decorate each scallop with dots, tiny petals, or short lines. Layering several scalloped borders creates texture while keeping the shapes easy to repeat.
21. Feather-Inspired Design
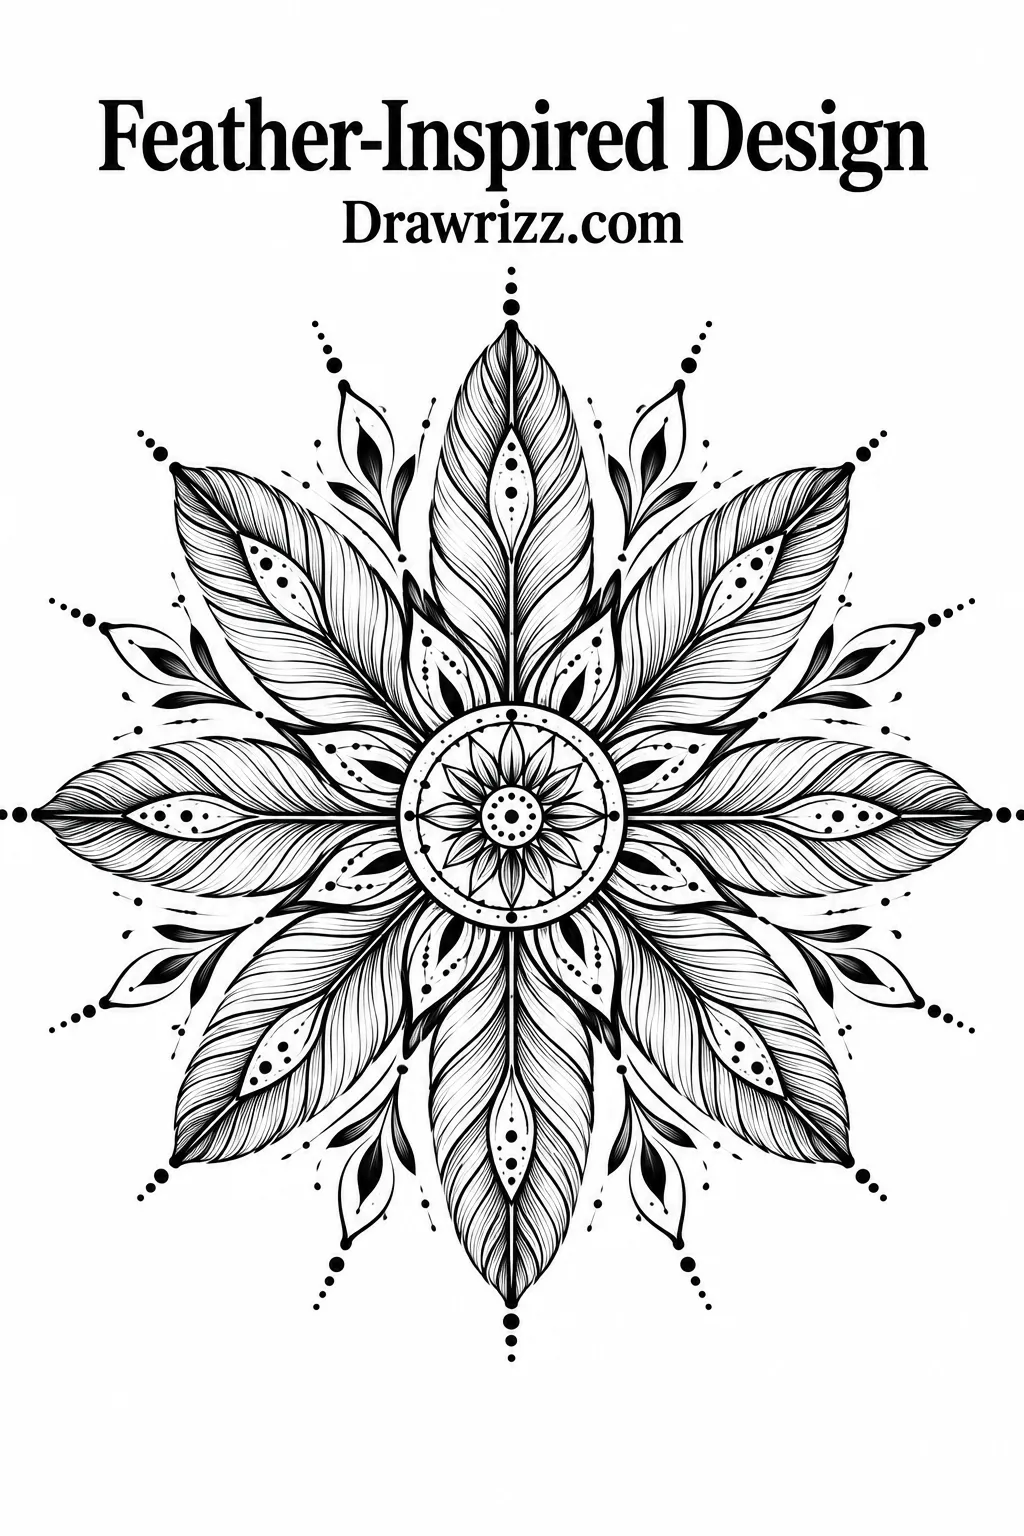
Create elongated feather shapes radiating from the center. Add fine parallel lines inside each feather and use tiny dots between the outer tips. The repeated tapered forms can give the composition a soft sense of movement.
22. Ocean Wave Pattern
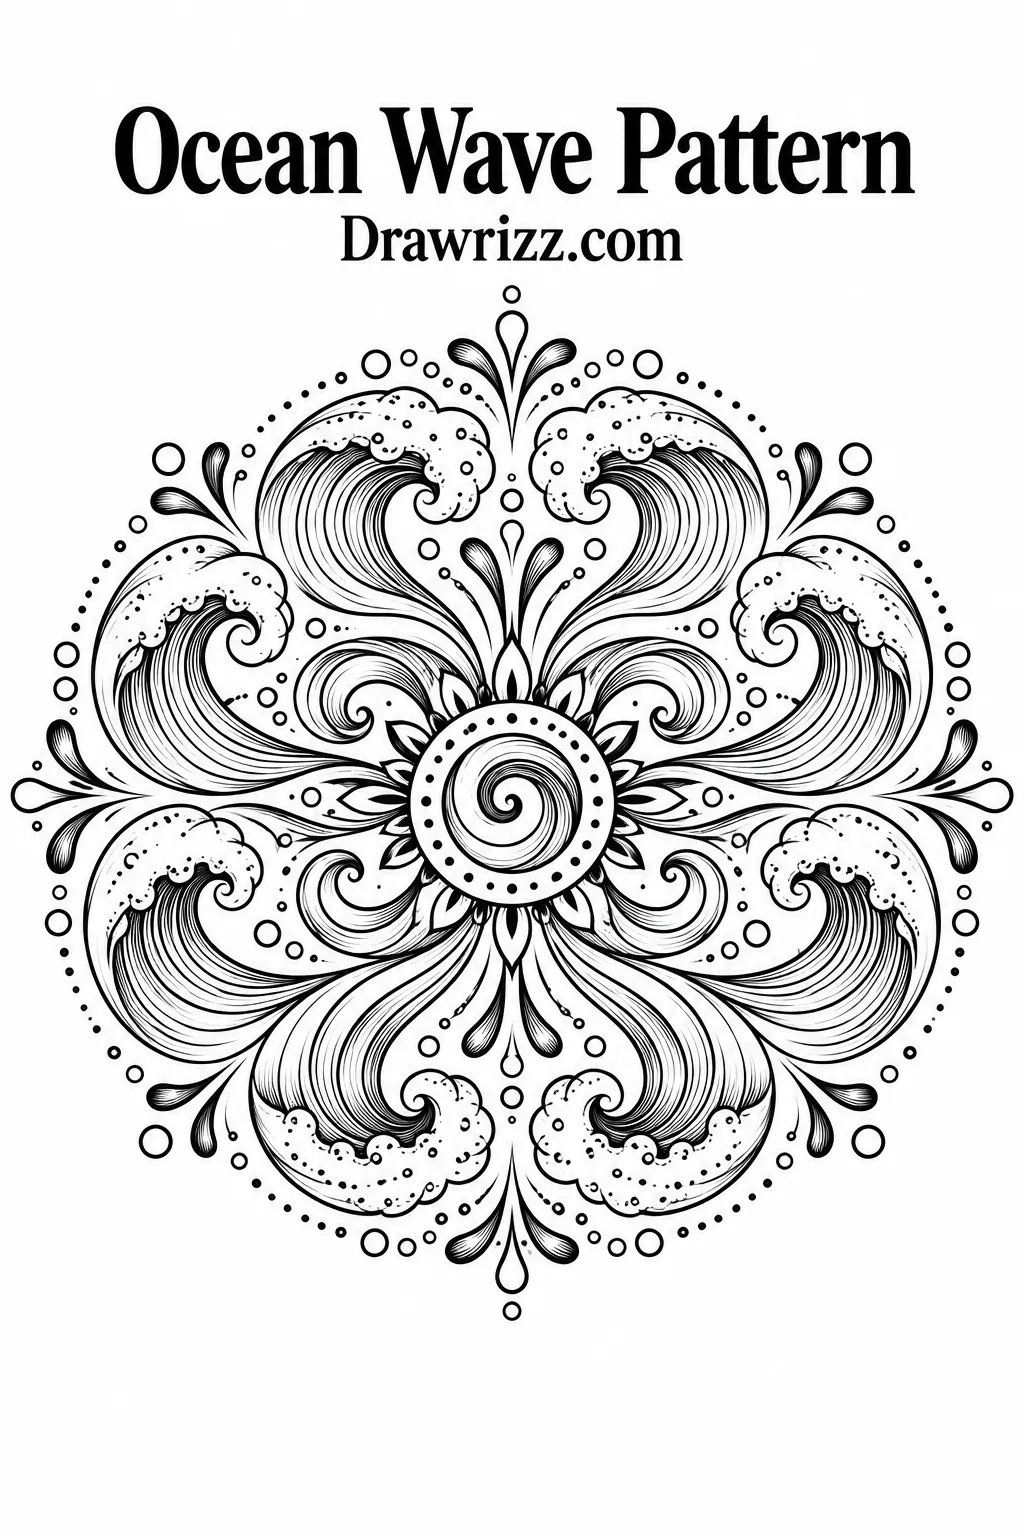
Replace petals with stylized waves and curved lines. Repeat the wave shapes around the center, alternating their direction between layers. Small bubbles or dots can fill empty spaces and strengthen the ocean-inspired theme.
23. Tiny Doodle Design
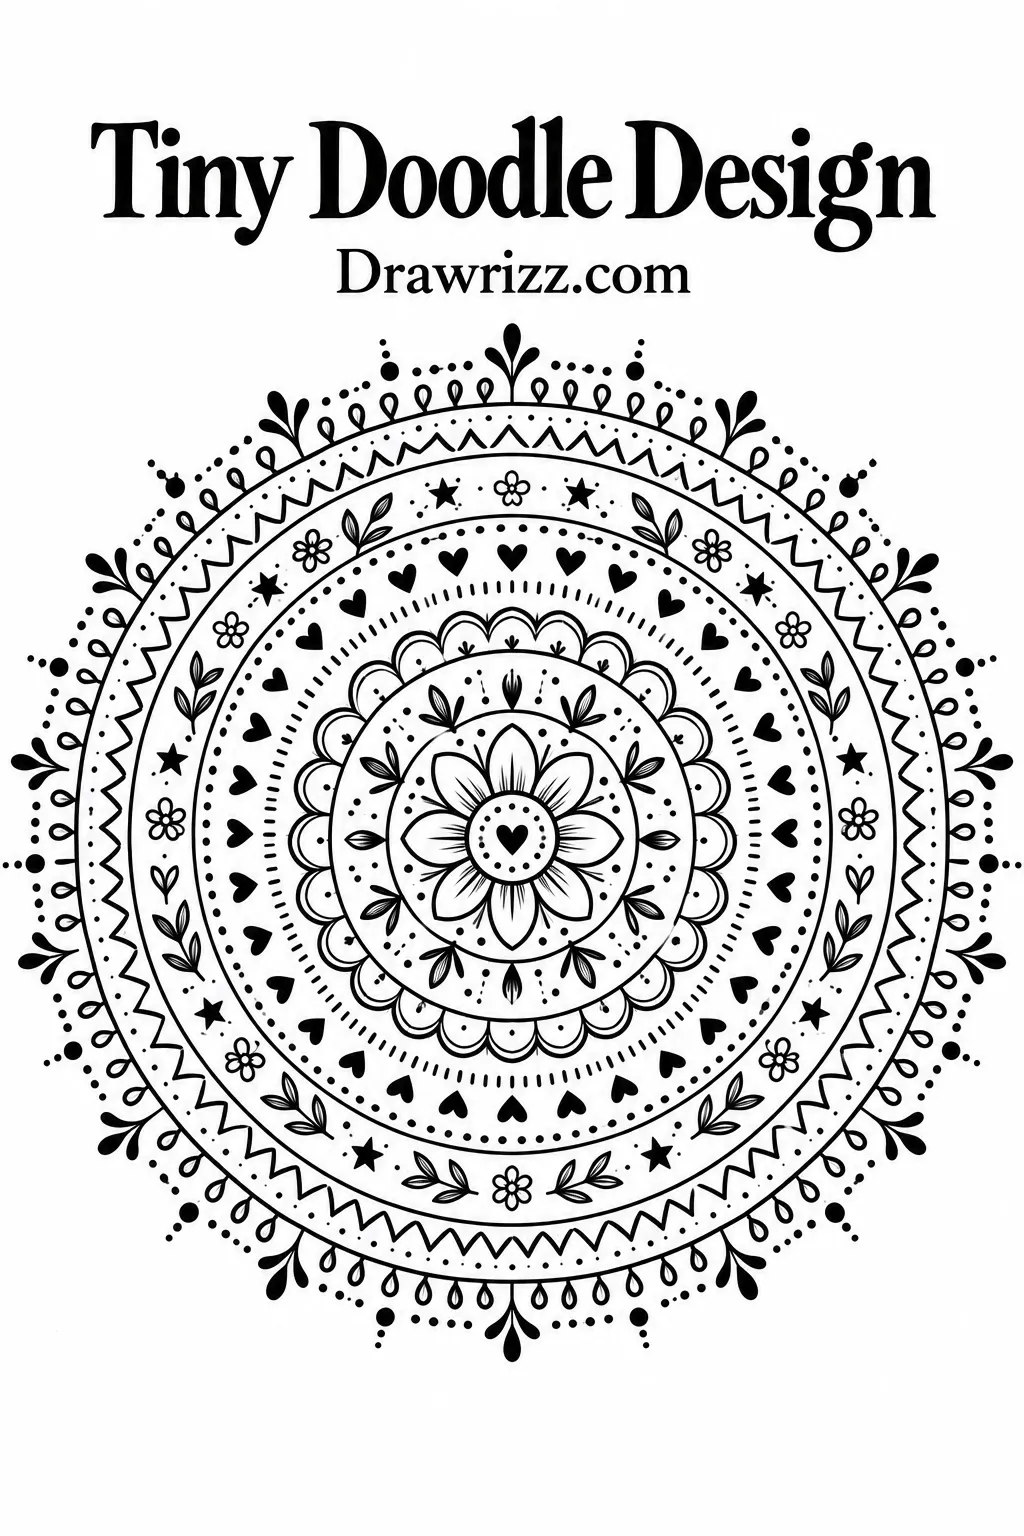
Fill each ring with miniature doodles such as dots, loops, leaves, stars, hearts, and zigzags. Repeating these small marks in an organized structure gives you plenty of room to experiment without committing to one motif.
24. Lace-Inspired Pattern
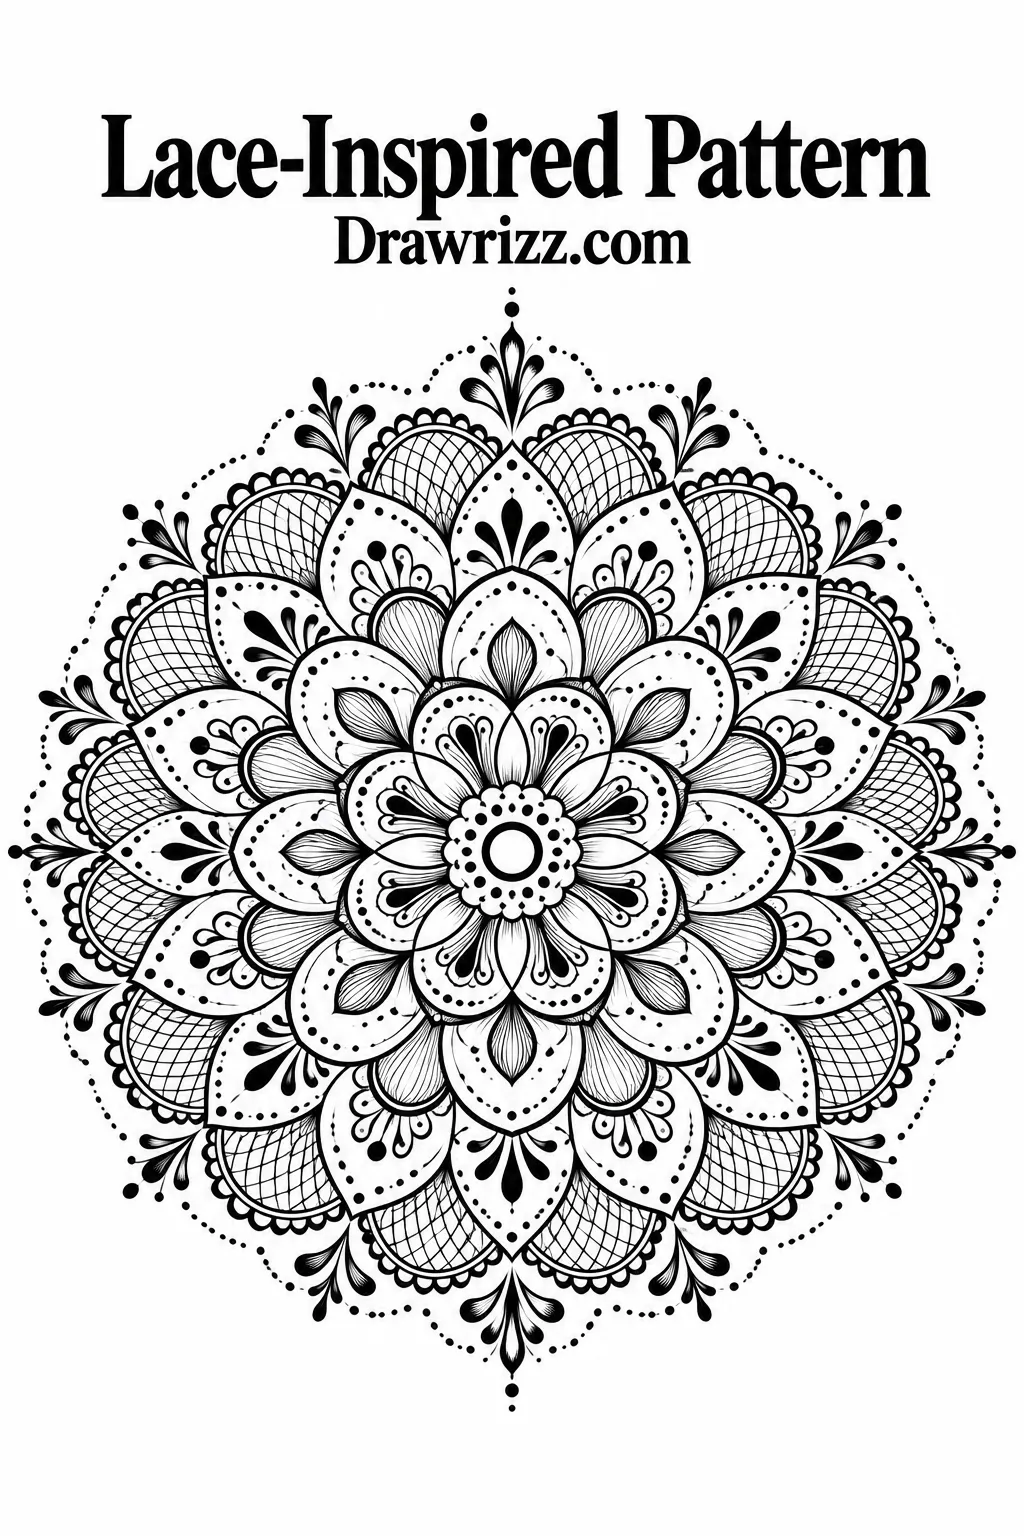
Use thin arches, loops, teardrops, and tiny dots to imitate the delicate appearance of lace. Keep the lines light and closely spaced. This style is ideal when you want something elegant and more detailed.
25. Bold Black Ink Design
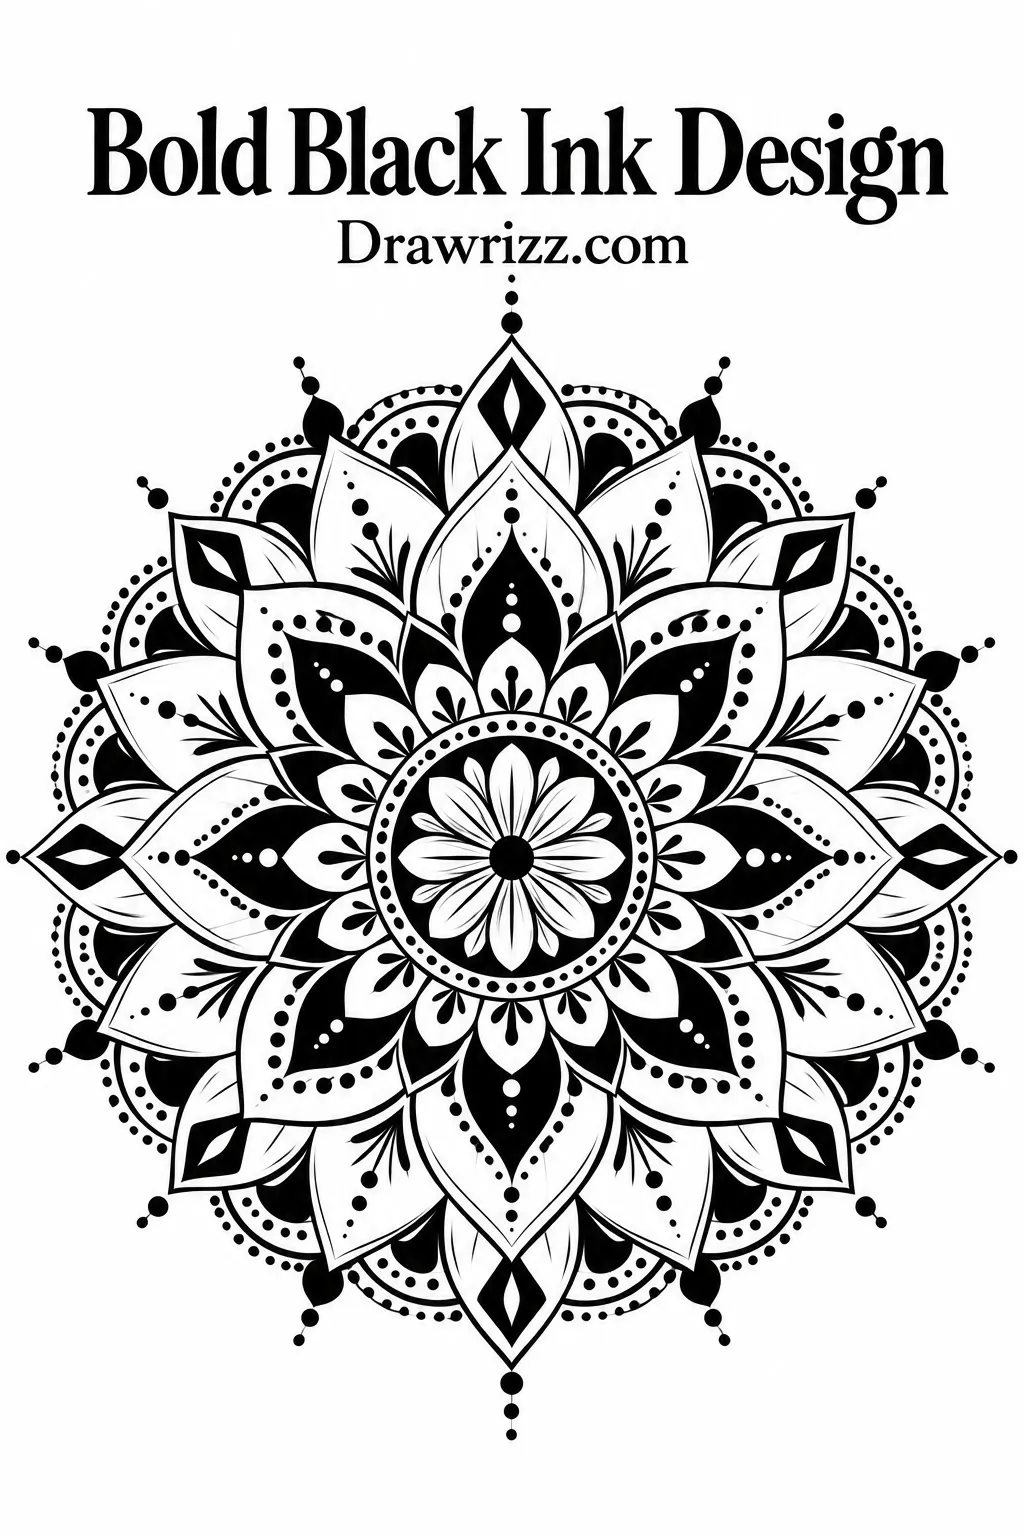
Instead of relying only on thin outlines, fill selected sections with solid black ink. Alternate dark areas with untouched white sections to create dramatic contrast and make the repeated shapes stand out.
26. Rose-Inspired Pattern
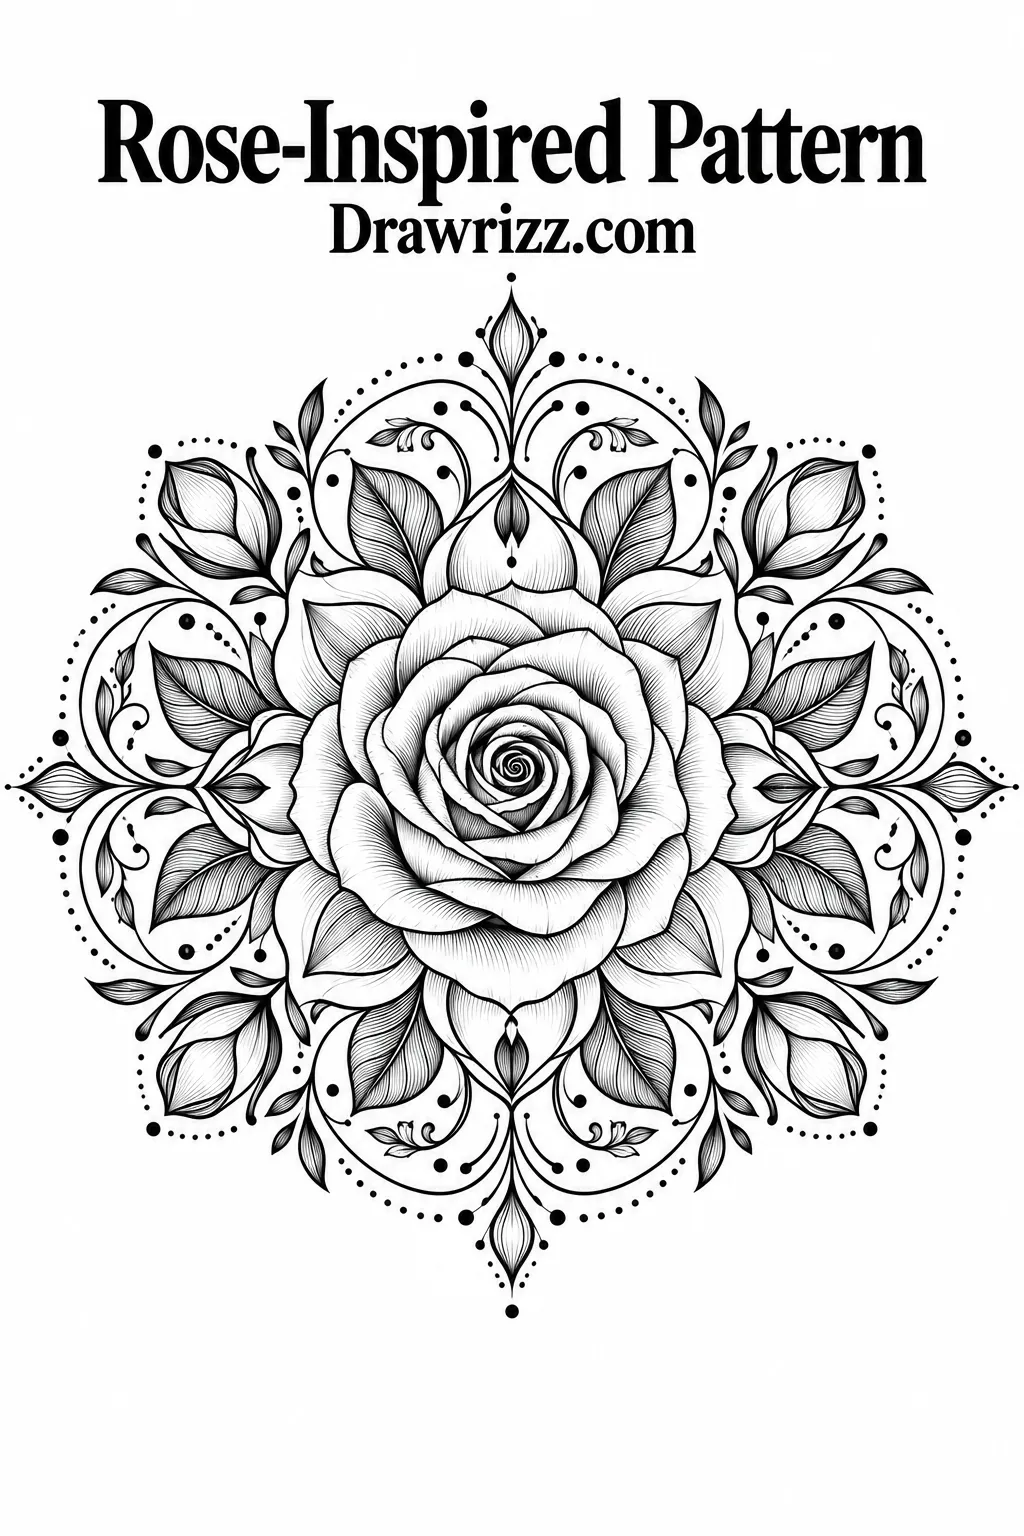
Begin with a small spiral rose and build outward using overlapping petal shapes. As the rings grow, simplify the petals into repeated curved forms. Leaf accents around the outside can complete the botanical theme.
27. Square-Based Design
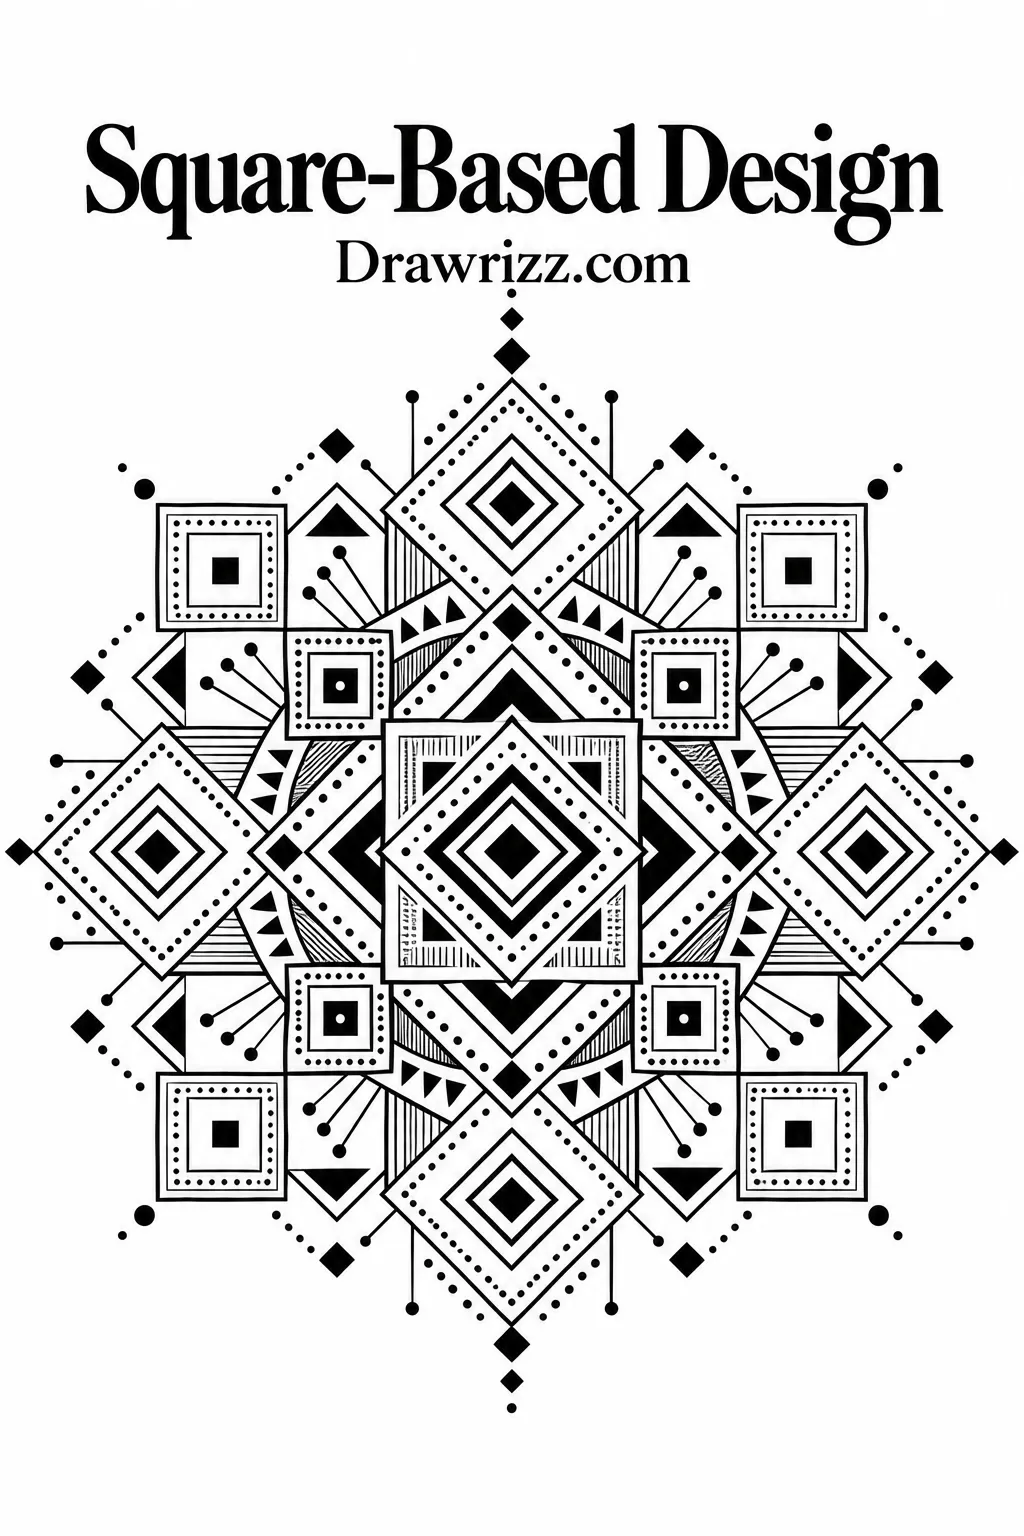
Circular artwork can be built from square geometry too. Place a small square at the center, rotate additional squares around it, and connect the corners using straight lines, dots, and small triangles.
28. Arched Petal Pattern
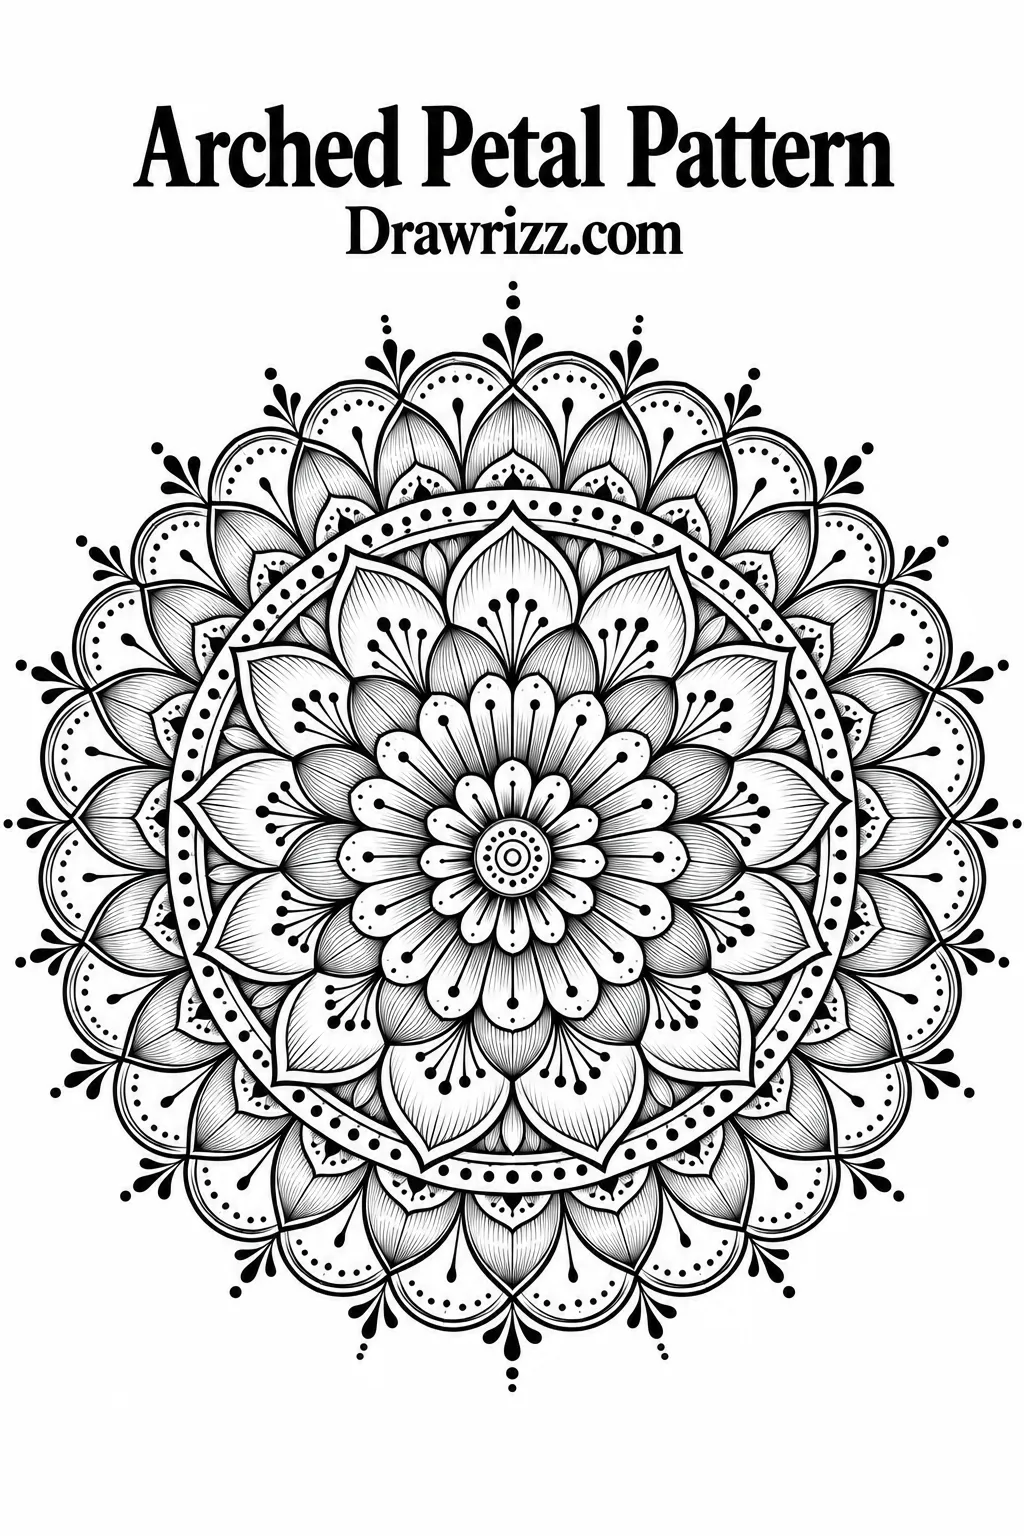
Draw narrow arches around the center and repeat them in increasingly larger rings. Place dots at the tips and fine vertical lines inside each arch. This simple combination can create surprisingly rich detail.
29. Snowflake-Inspired Design
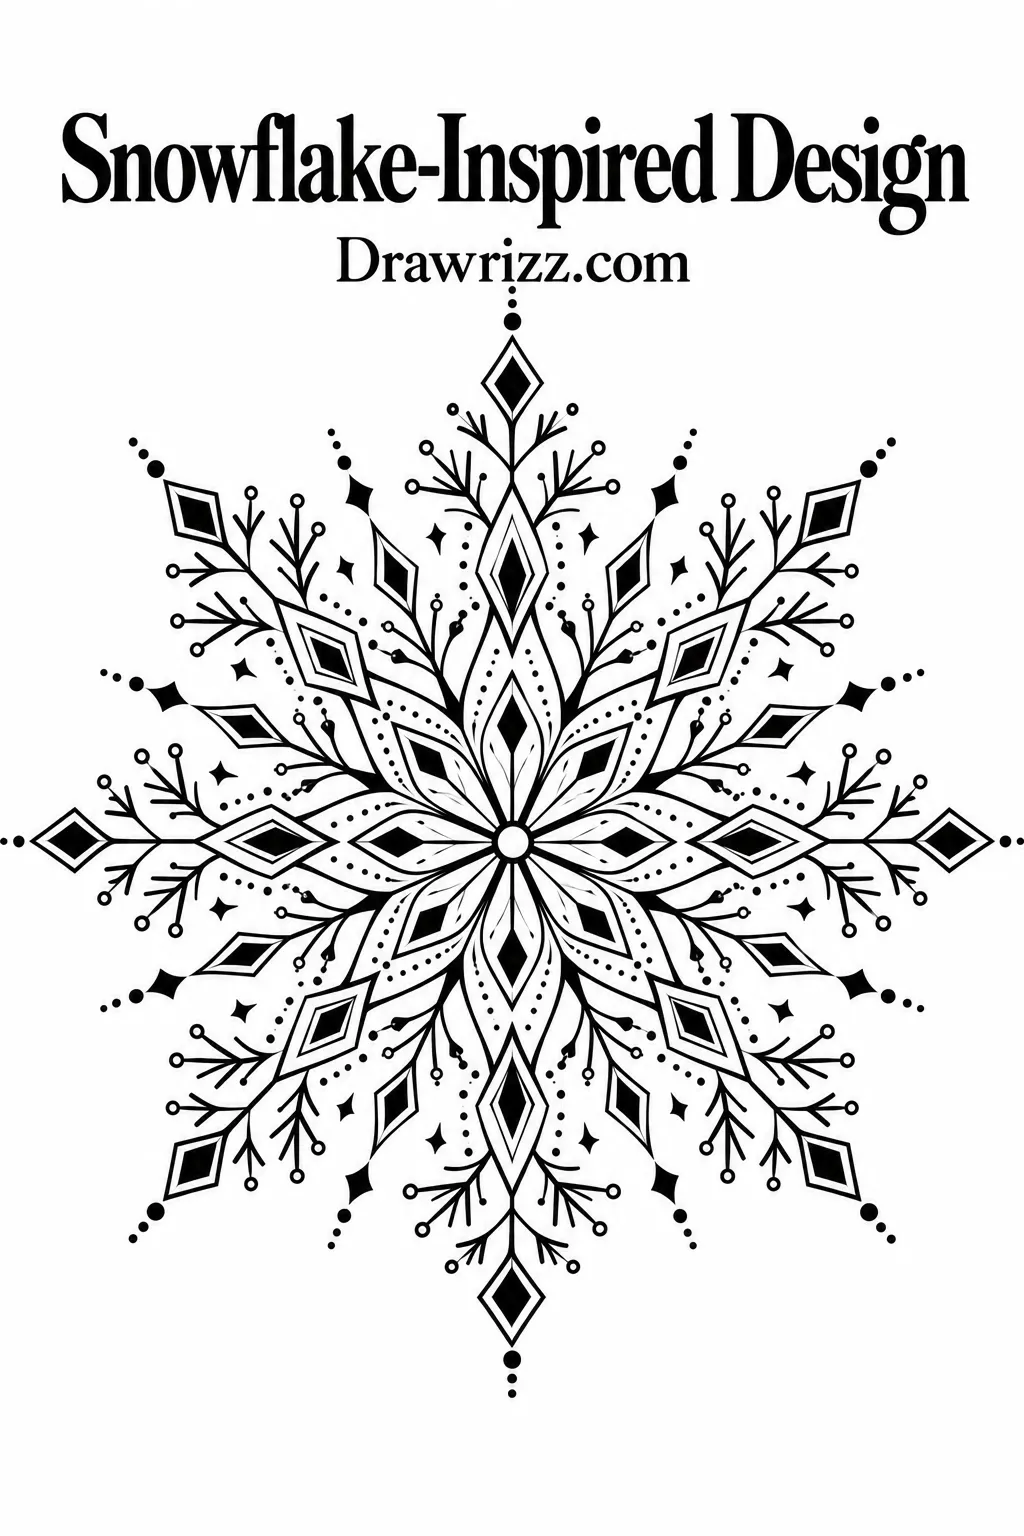
Use six or eight main axes extending from the center, then add tiny branches, diamonds, and pointed details. The repeated structure creates a crisp, winter-inspired composition that can be kept simple or made highly intricate.
30. Vine and Swirl Pattern
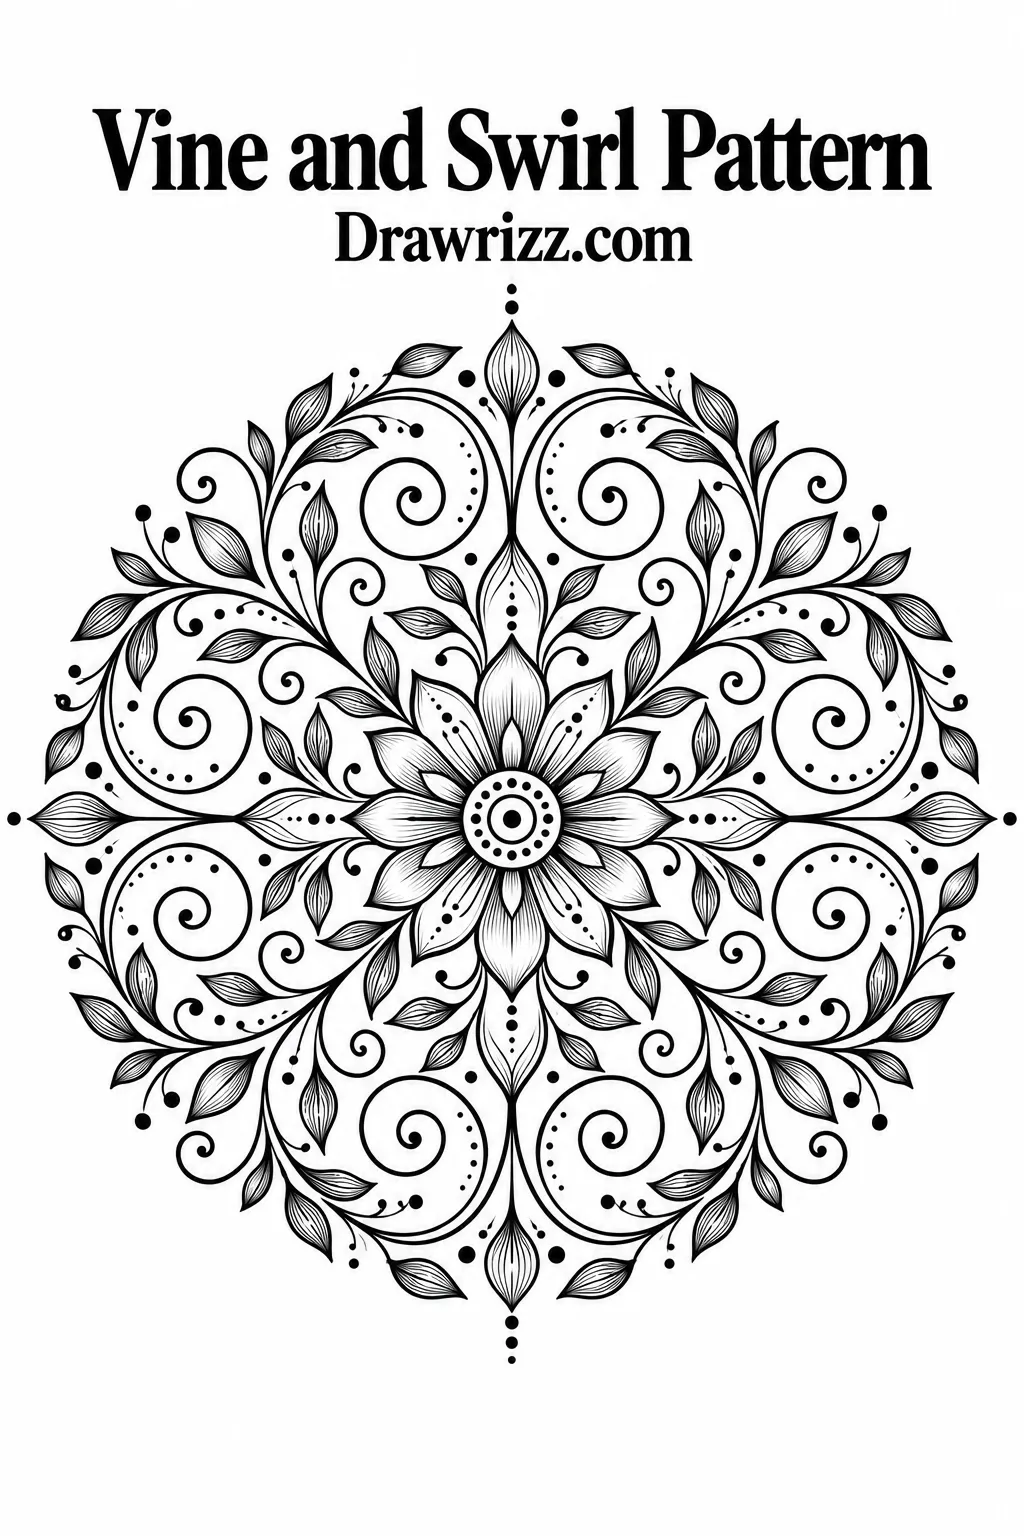
Combine curling vines with small leaves and spiral shapes. Let each vine follow the circular direction of the composition so the entire piece appears to rotate gently around the center.
31. Peacock Feather Pattern
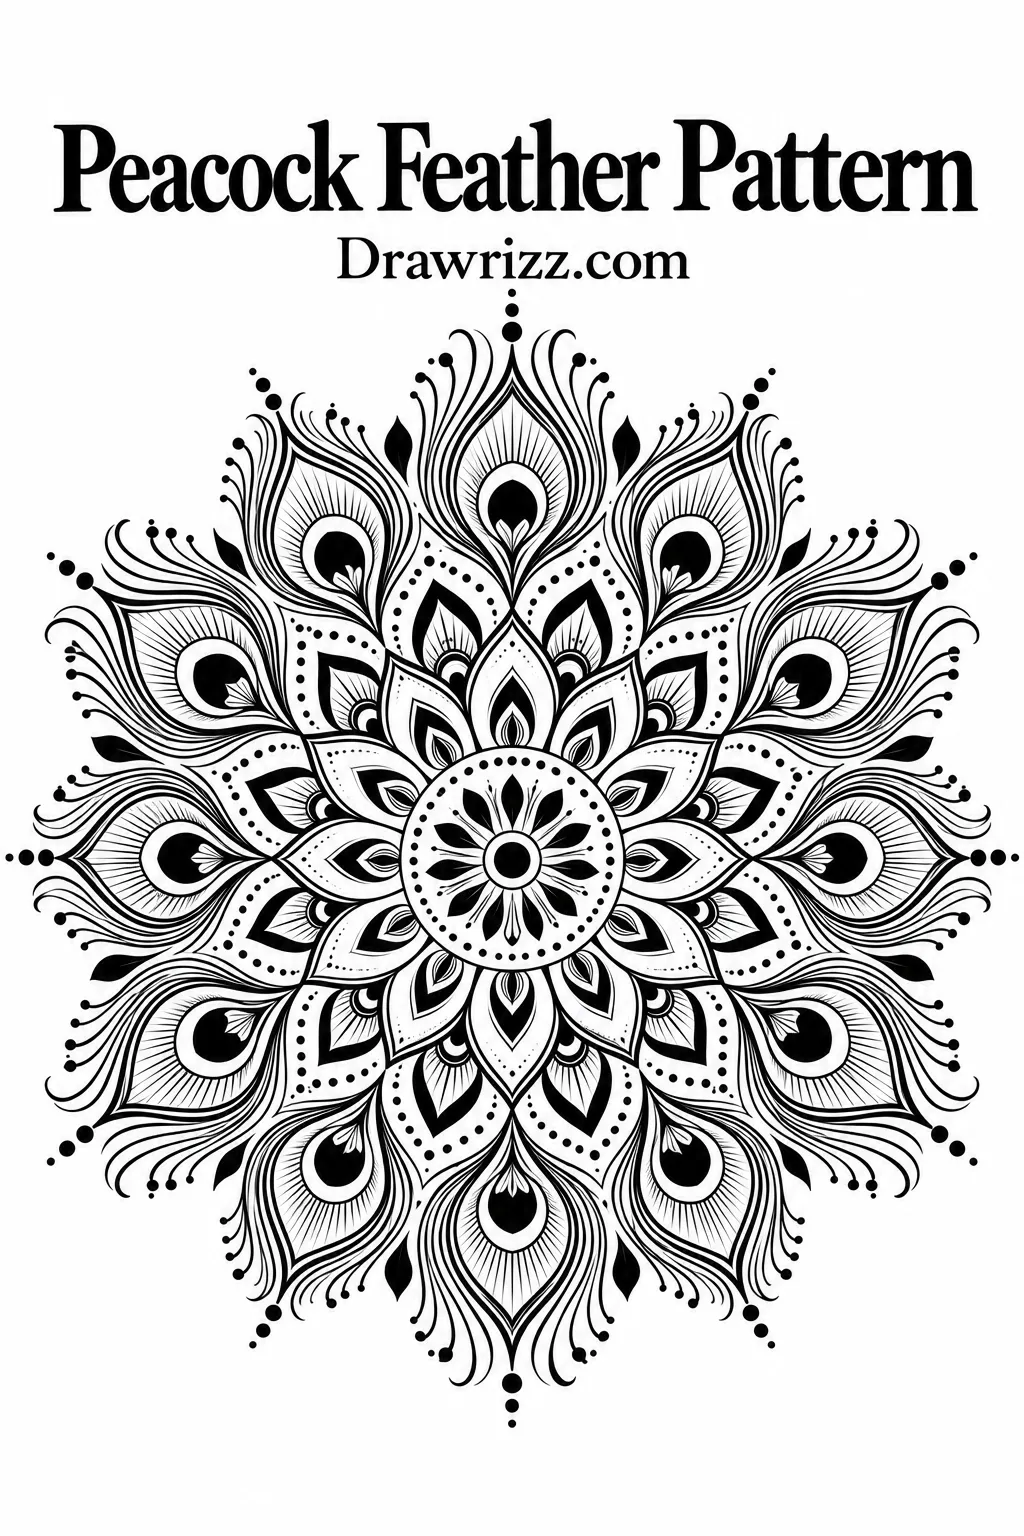
Use simplified peacock feather shapes as the main repeating element. Arrange the eye-like forms around the center and add delicate curved lines between them. This creates an ornamental design without needing to draw an entire bird.
32. Bee and Flower Design
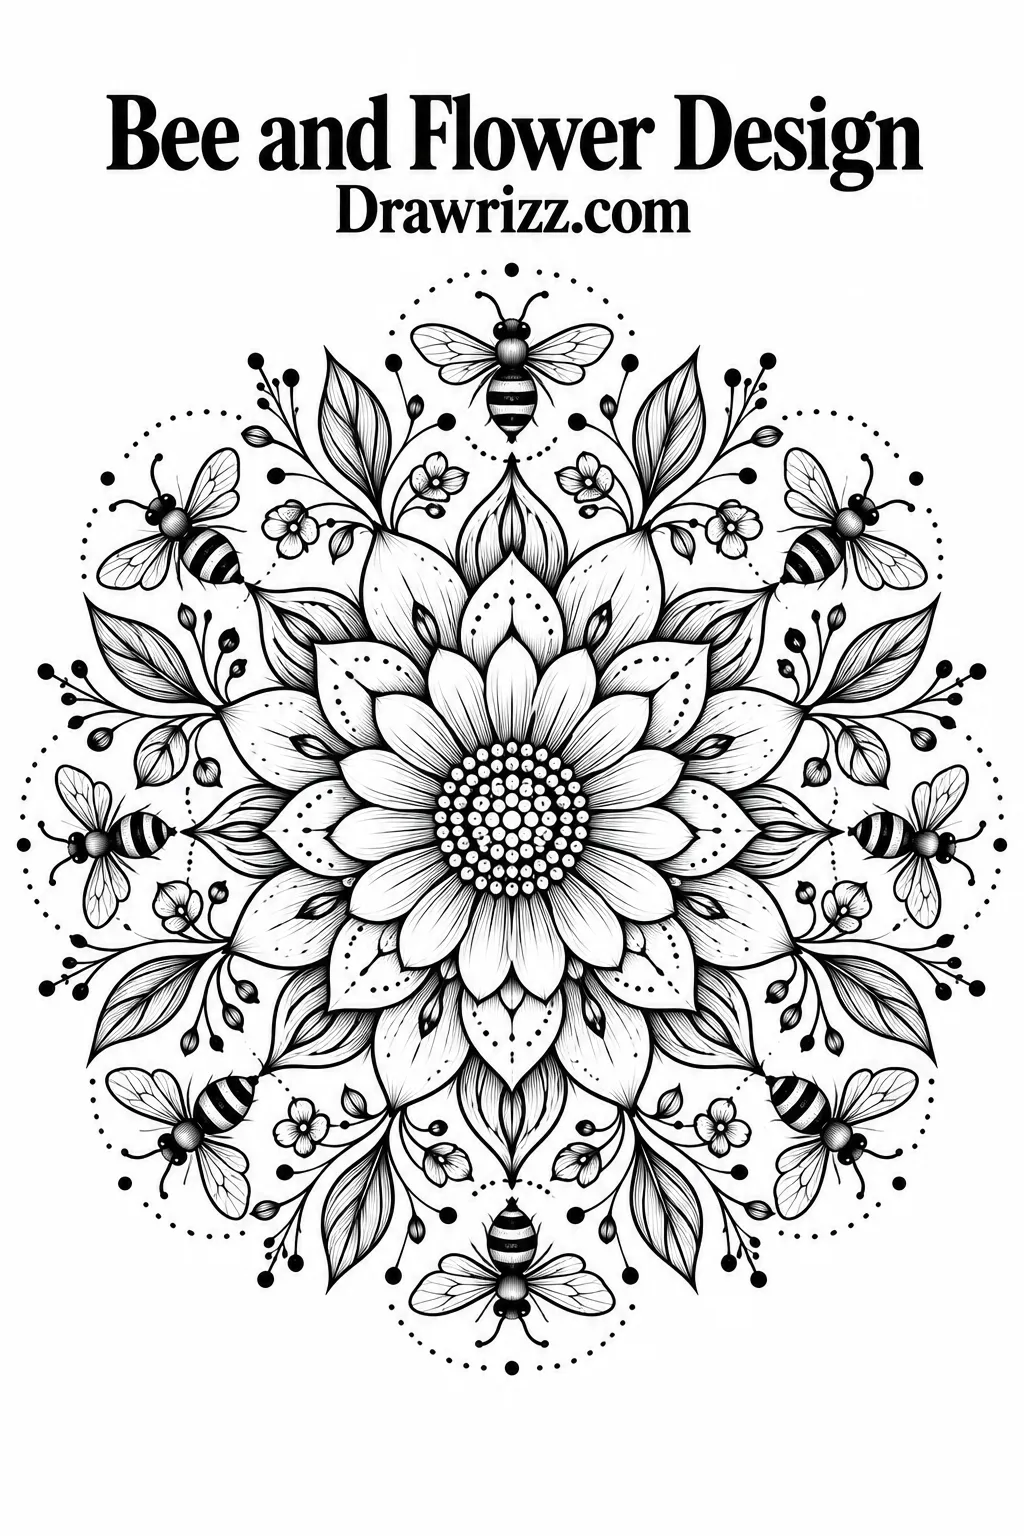
Place a small flower in the center and build botanical rings around it. Add a few tiny stylized bees at balanced points in the outer section. Keeping the insects simple allows them to blend naturally with the surrounding floral pattern.
33. Moon and Stars Pattern
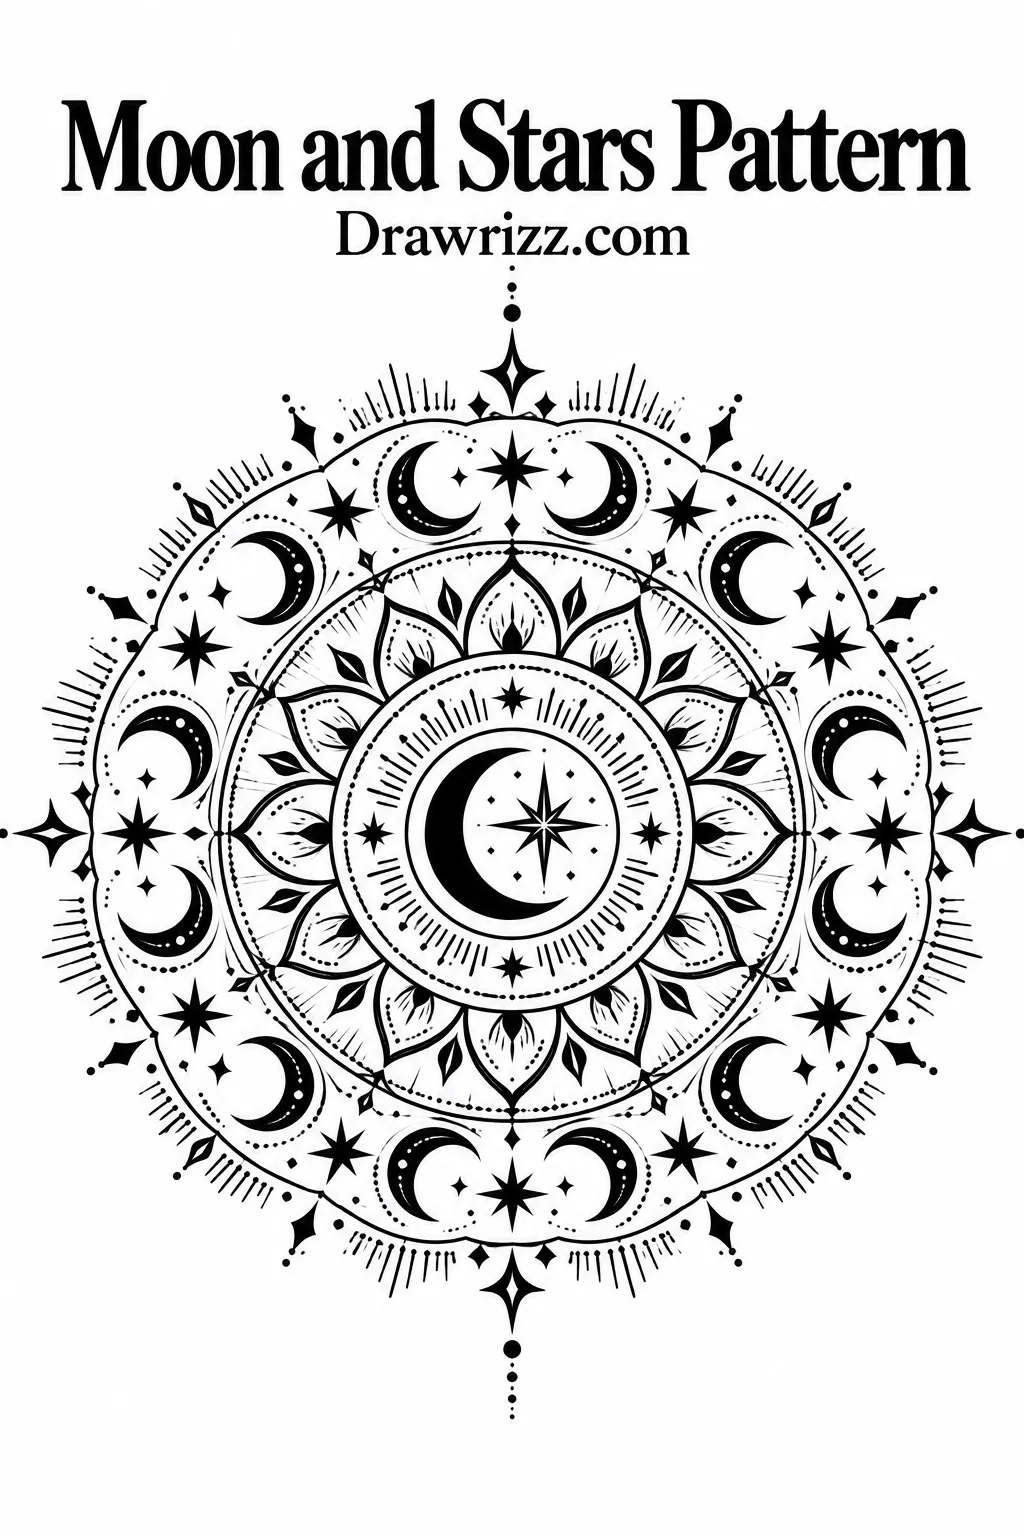
Create a celestial composition using tiny crescent moons, stars, dots, and radiant lines. Repeat the symbols in organized rings rather than scattering them randomly so the design maintains a clear visual structure.
34. Detailed Floral Pattern
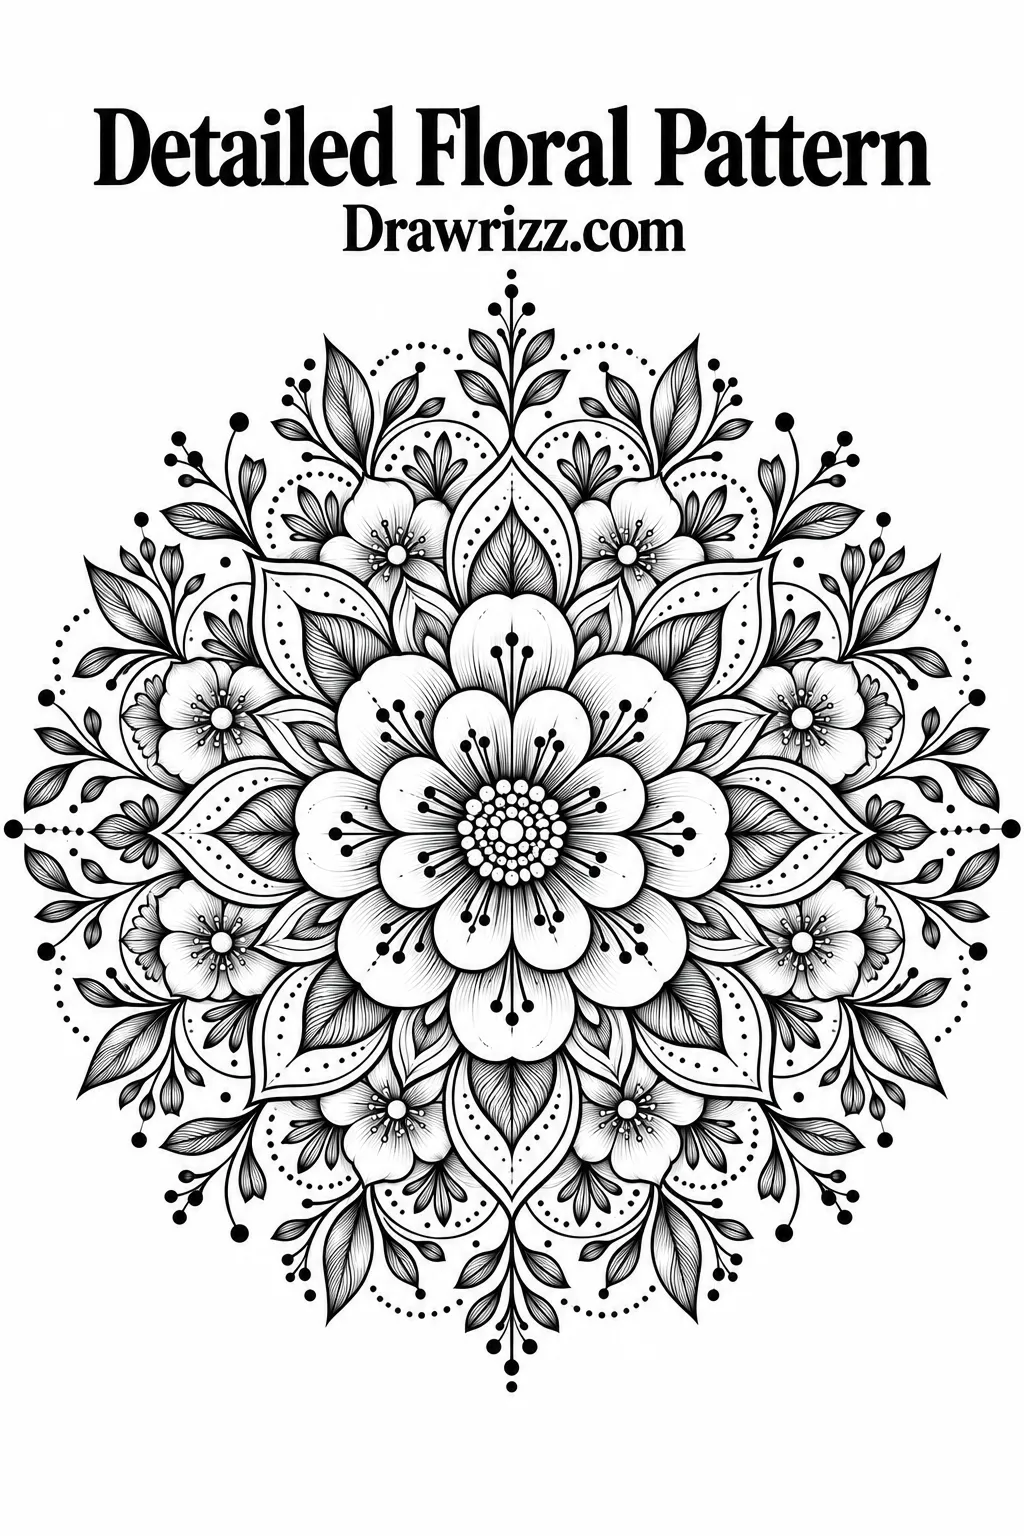
Once you are comfortable with basic shapes, combine several flower forms in one composition. Use rounded petals near the center, pointed petals in the middle, and leafy details along the outer edge. Varying the shapes keeps each layer visually distinct.
35. Intricate Full-Page Design
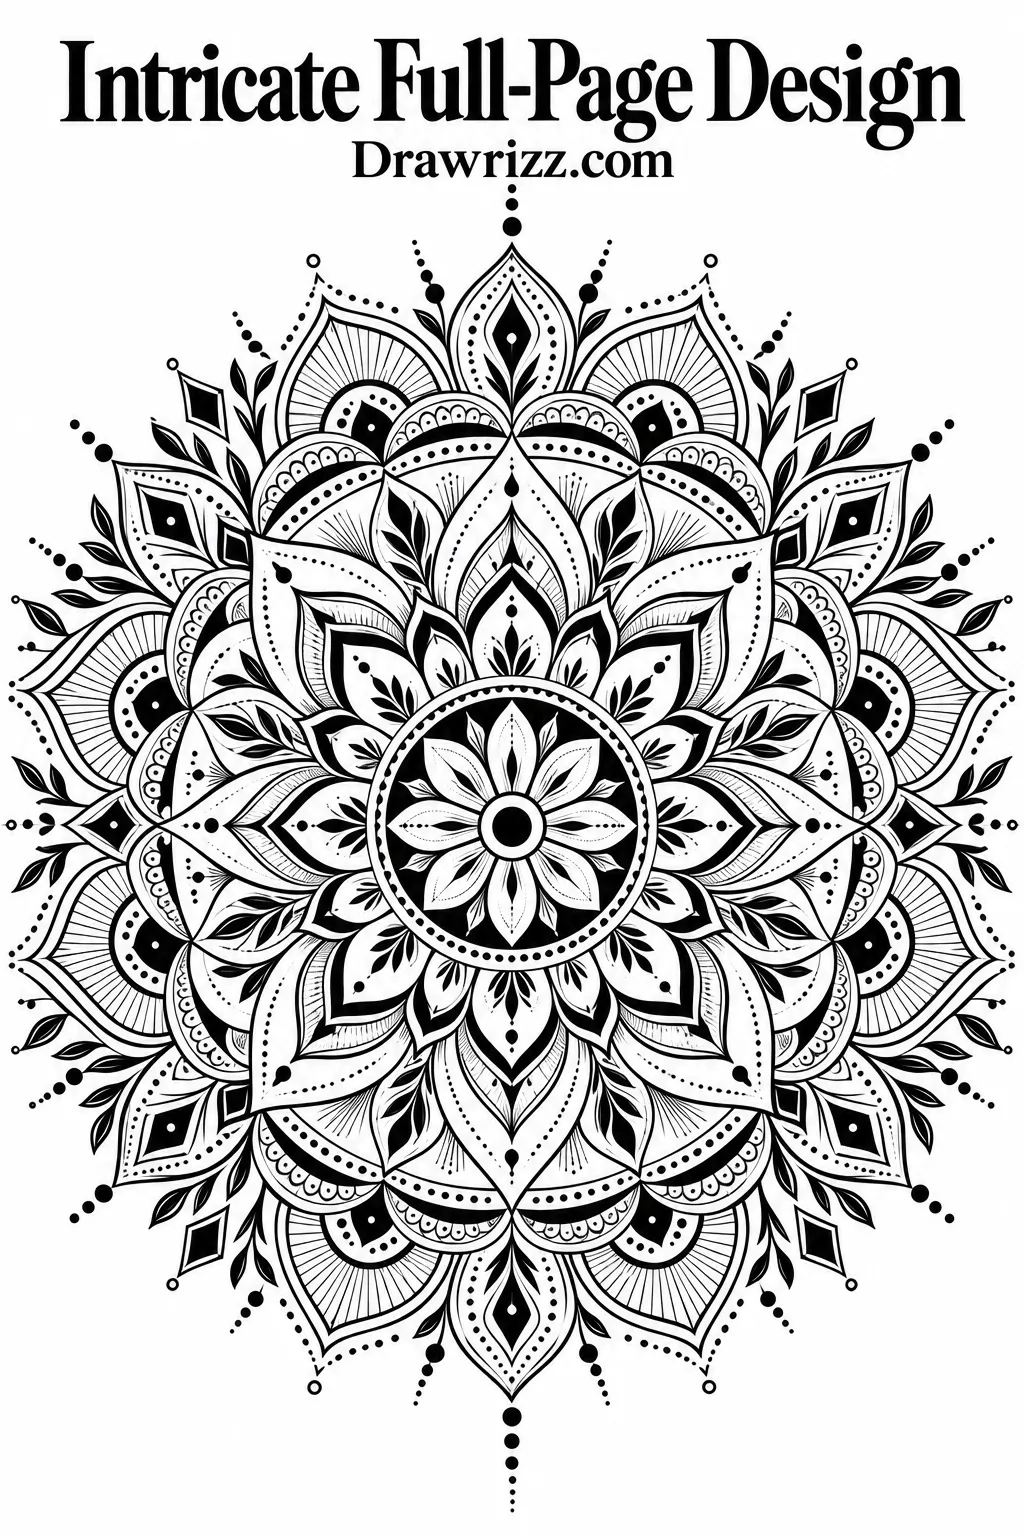
For a more challenging project, let the pattern expand almost to the edges of the page. Combine petals, dots, arches, diamonds, leaves, and fine lines across many rings. Keep each individual shape simple so the complexity comes from layering rather than difficult drawing techniques.
Simple Tips for Better Pattern Drawing
Start with light pencil guidelines rather than drawing every detail in ink immediately. A center point, several concentric circles, and evenly divided sections can provide enough structure for repeating elements. Once the main layout feels balanced, trace the shapes you want to keep with a fineliner and erase unnecessary pencil marks afterward.
Try repeating one motif at a time instead of designing the entire page in advance. For example, complete one ring of petals before deciding what belongs in the next layer. This approach makes a complicated-looking piece easier to manage.
Spacing also matters more than complexity. A row of evenly repeated dots can look more polished than an elaborate shape squeezed into an area that is too small. Leave occasional open spaces so detailed sections have room to stand out.
You can also vary line weight. Thin lines work well for interior details, while slightly thicker outlines can separate major sections. Black-and-white artwork is especially useful for practicing this contrast because the structure remains easy to see.
Tools You Can Use
You do not need a large collection of art supplies. A regular pencil works well for guidelines, while an eraser helps clean the page before the final artwork is complete. A compass makes concentric circles easier, and a ruler or protractor can help divide the page into even sections.
Fine-tip black pens are useful when you want crisp details. Keep two or three nib sizes nearby if possible so you can experiment with thin decorative marks and stronger outer outlines. A smooth sketchbook or drawing paper can also make detailed linework easier to control.
How to Create Your Own Original Patterns
Once you have practiced a few structured designs, begin combining elements instead of following one idea exactly. You might place a flower in the center, use diamonds in the next ring, surround them with leaves, and finish with a scalloped edge. Changing only one element can give the entire composition a different personality.
Nature can provide plenty of inspiration. Look at flower petals, leaves, shells, snowflakes, feathers, waves, and star shapes, then simplify what you see into repeatable forms. Geometric inspiration can come from triangles, squares, diamonds, spirals, arcs, and intersecting lines.
Most importantly, avoid treating small imperfections as a reason to restart. Hand-drawn work naturally contains subtle variations. Keeping those details can give your sketchbook a more personal appearance while regular practice improves your control over spacing and symmetry.
Conclusion
These Mandala Drawing Ideas give you plenty of ways to explore repetition, symmetry, floral details, geometric forms, botanical elements, and decorative linework without relying on one style. Begin with a simple circle or petal arrangement, then gradually experiment with more detailed layers as your confidence grows. Whether you prefer clean minimalist patterns or pages filled with intricate black ink, the best approach is to keep experimenting and develop combinations that feel uniquely yours.
4 thoughts on “35 Mandala Drawing Ideas for Easy and Creative Pattern Art”